
1. How to add a product to the Supplier Portal
This guide will walk you through adding a product to the Supplier Portal using a series of clear and straightforward instructions.

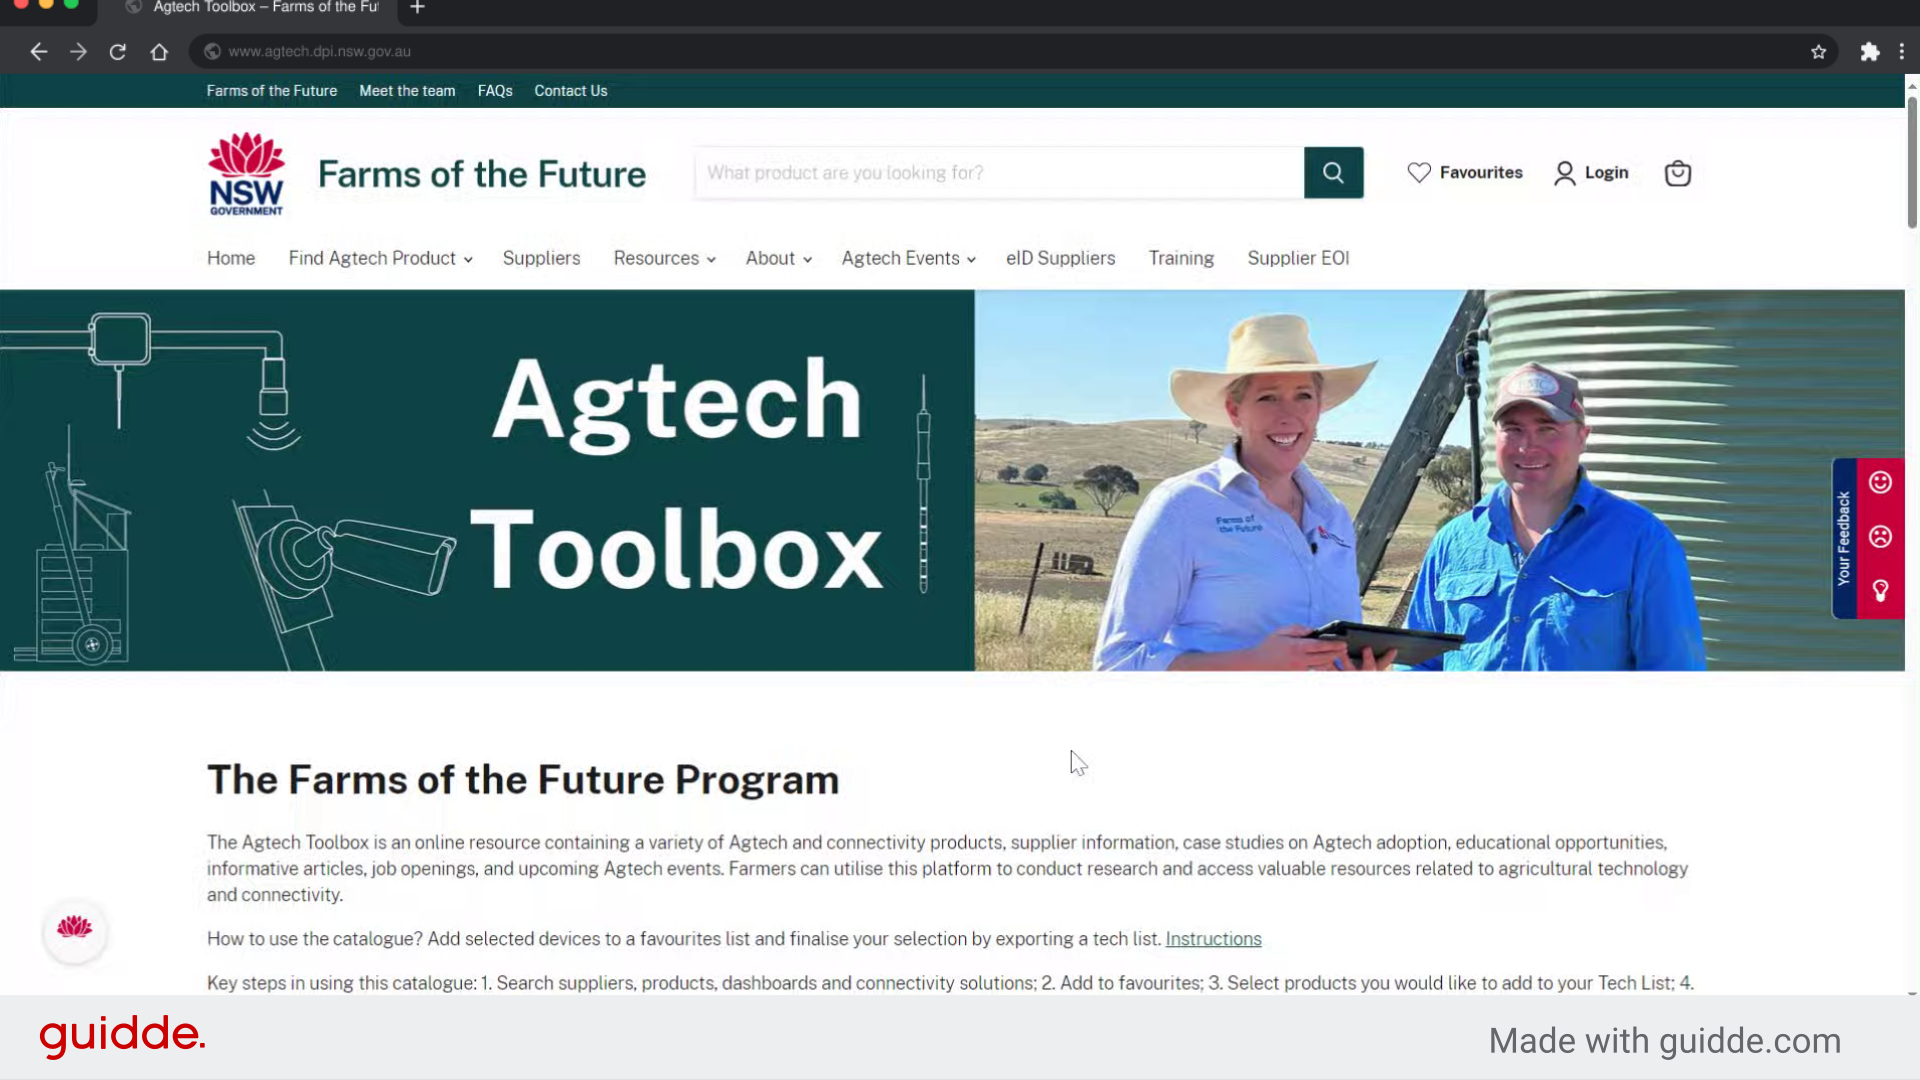
2. Introduction
From logging in to submitting the product information, follow each step diligently to streamline your product management process.
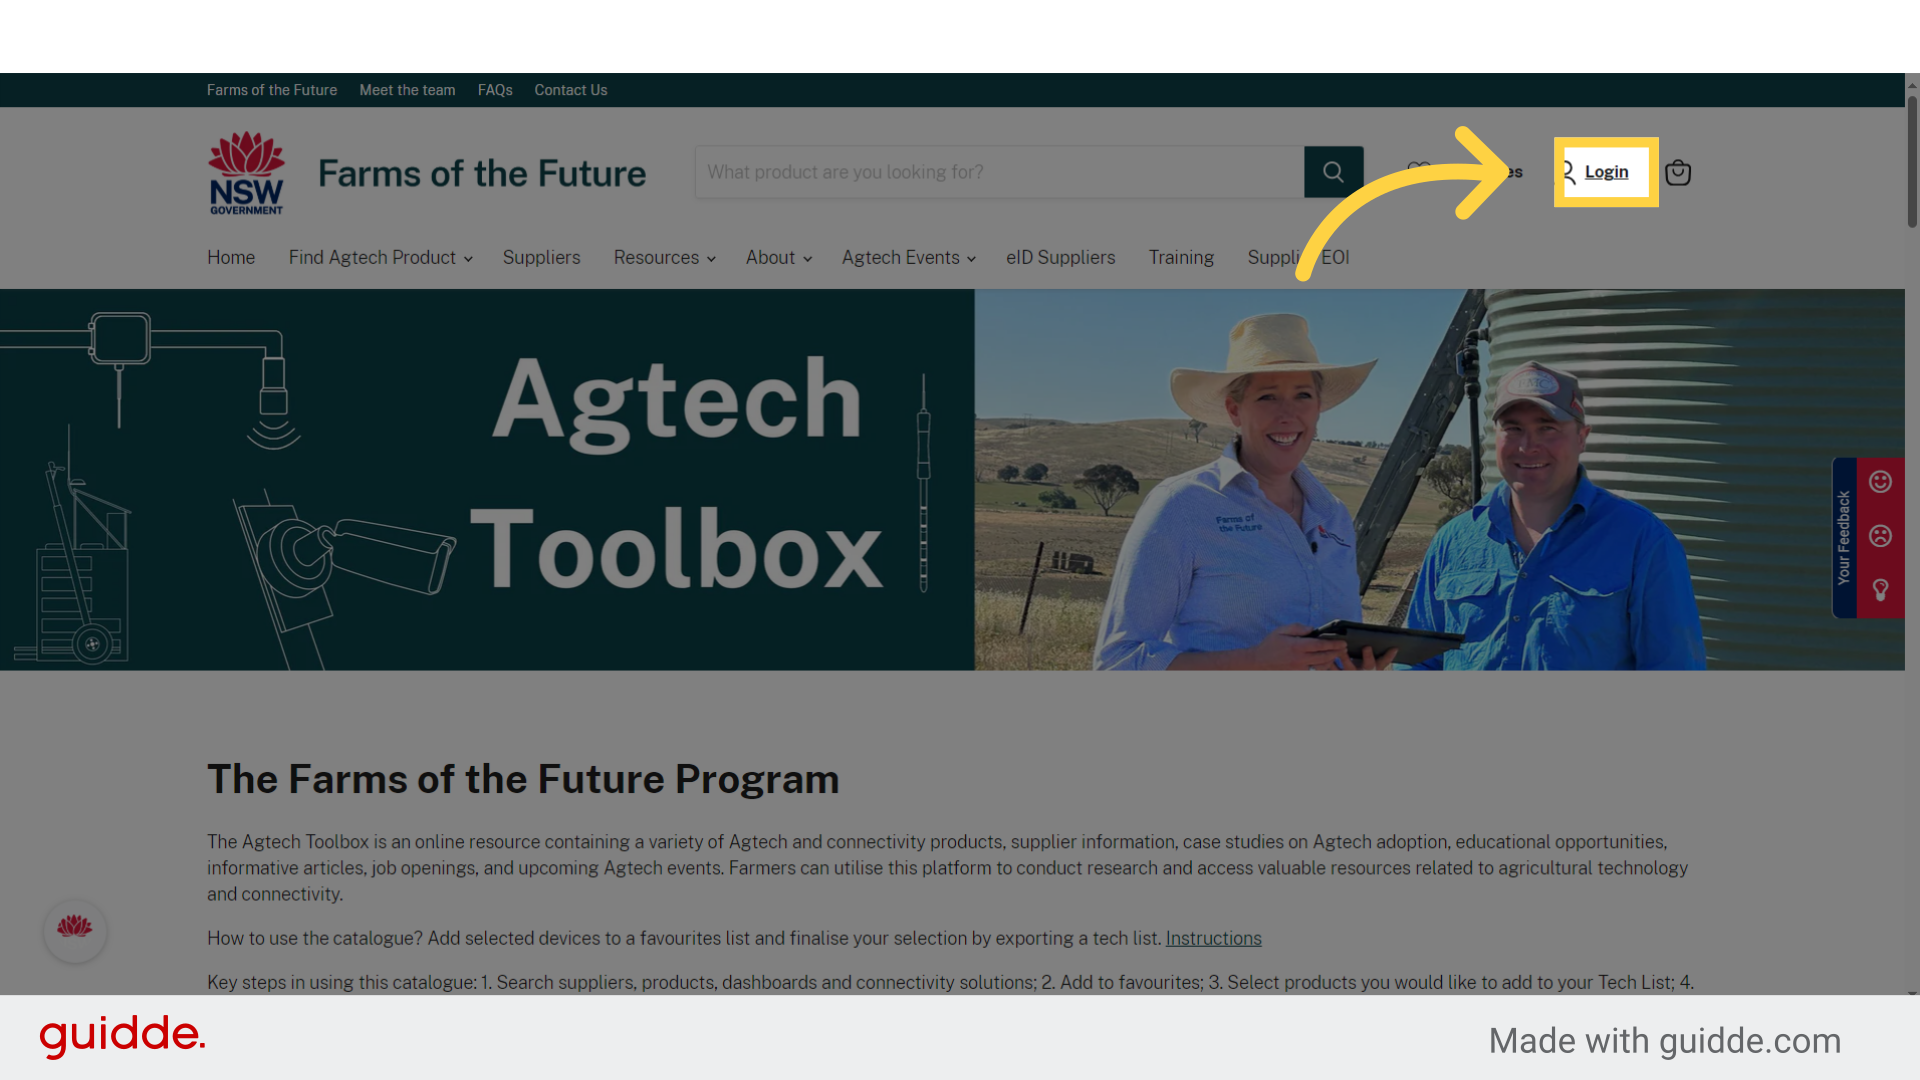
3. Click "Login"
Navigate to the login page.
4. Add your email address
Add your login email address
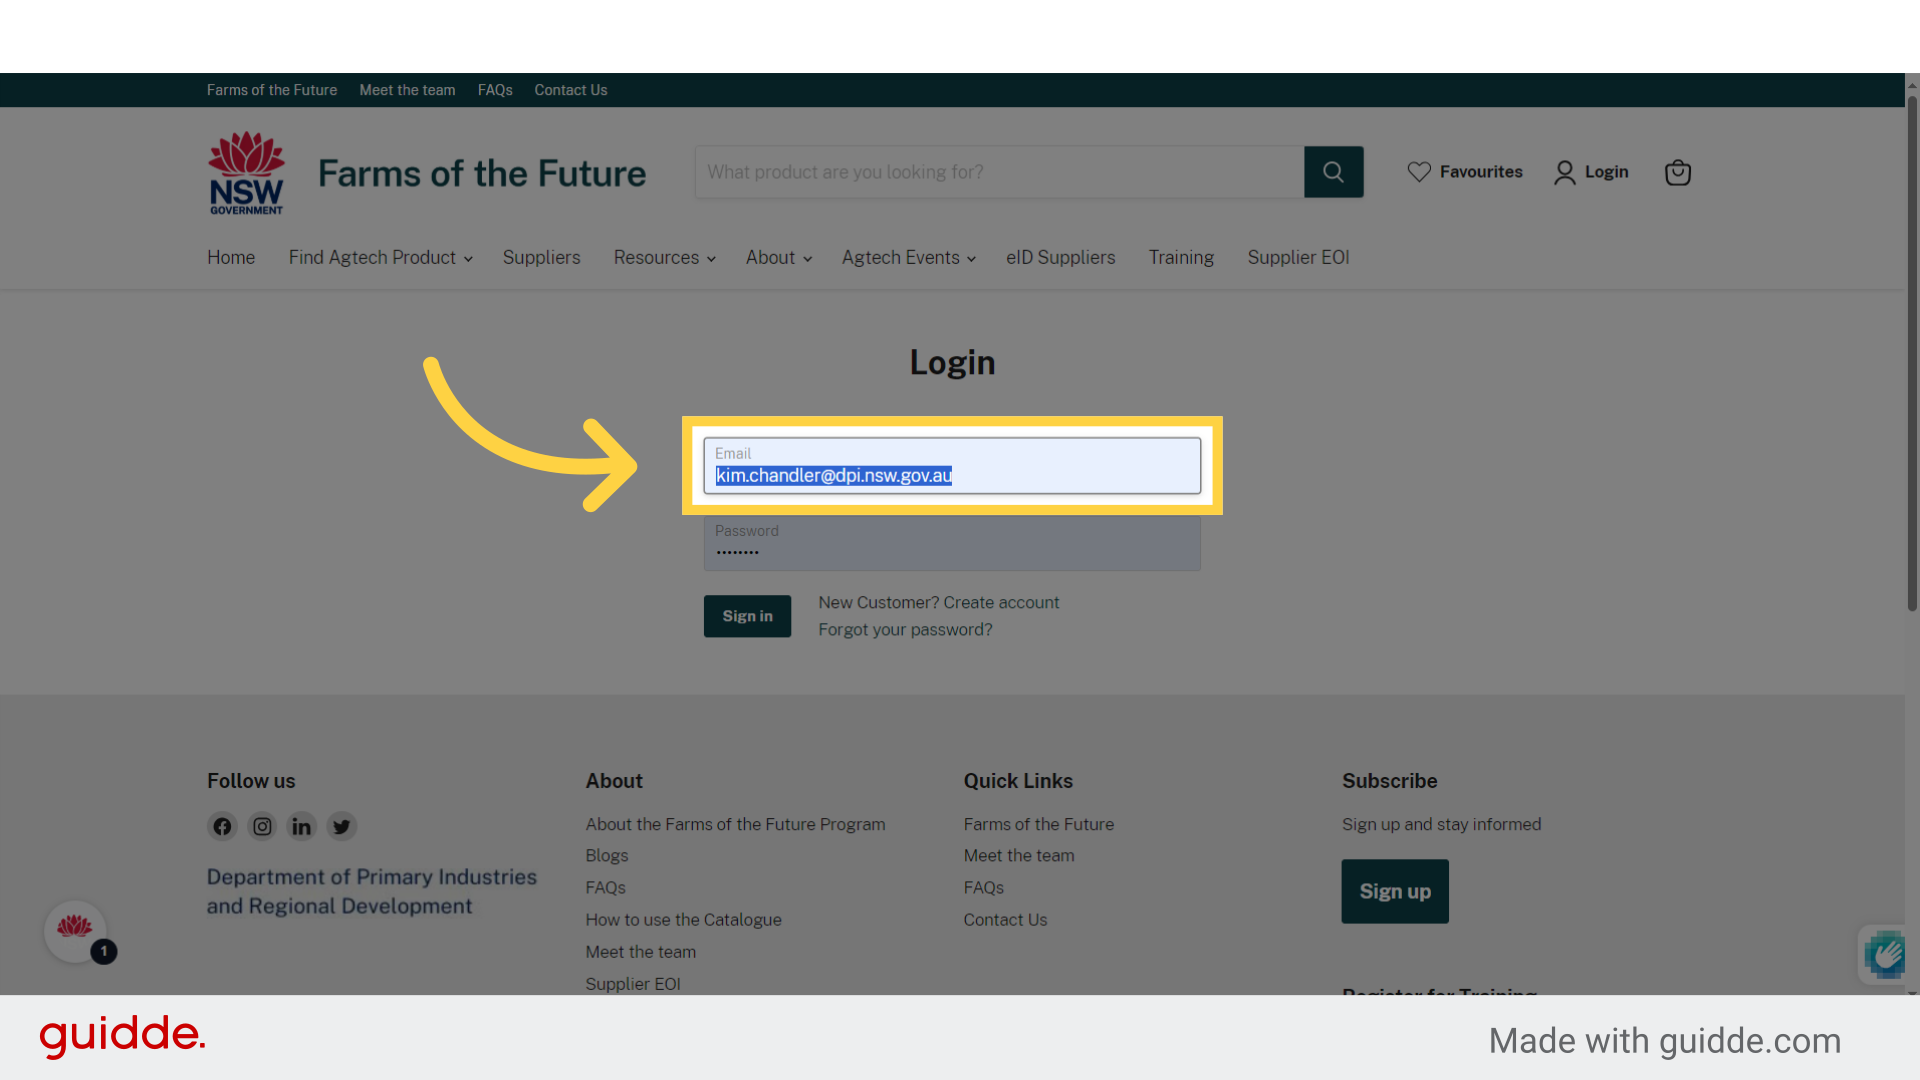
5. Add your password
Add your password

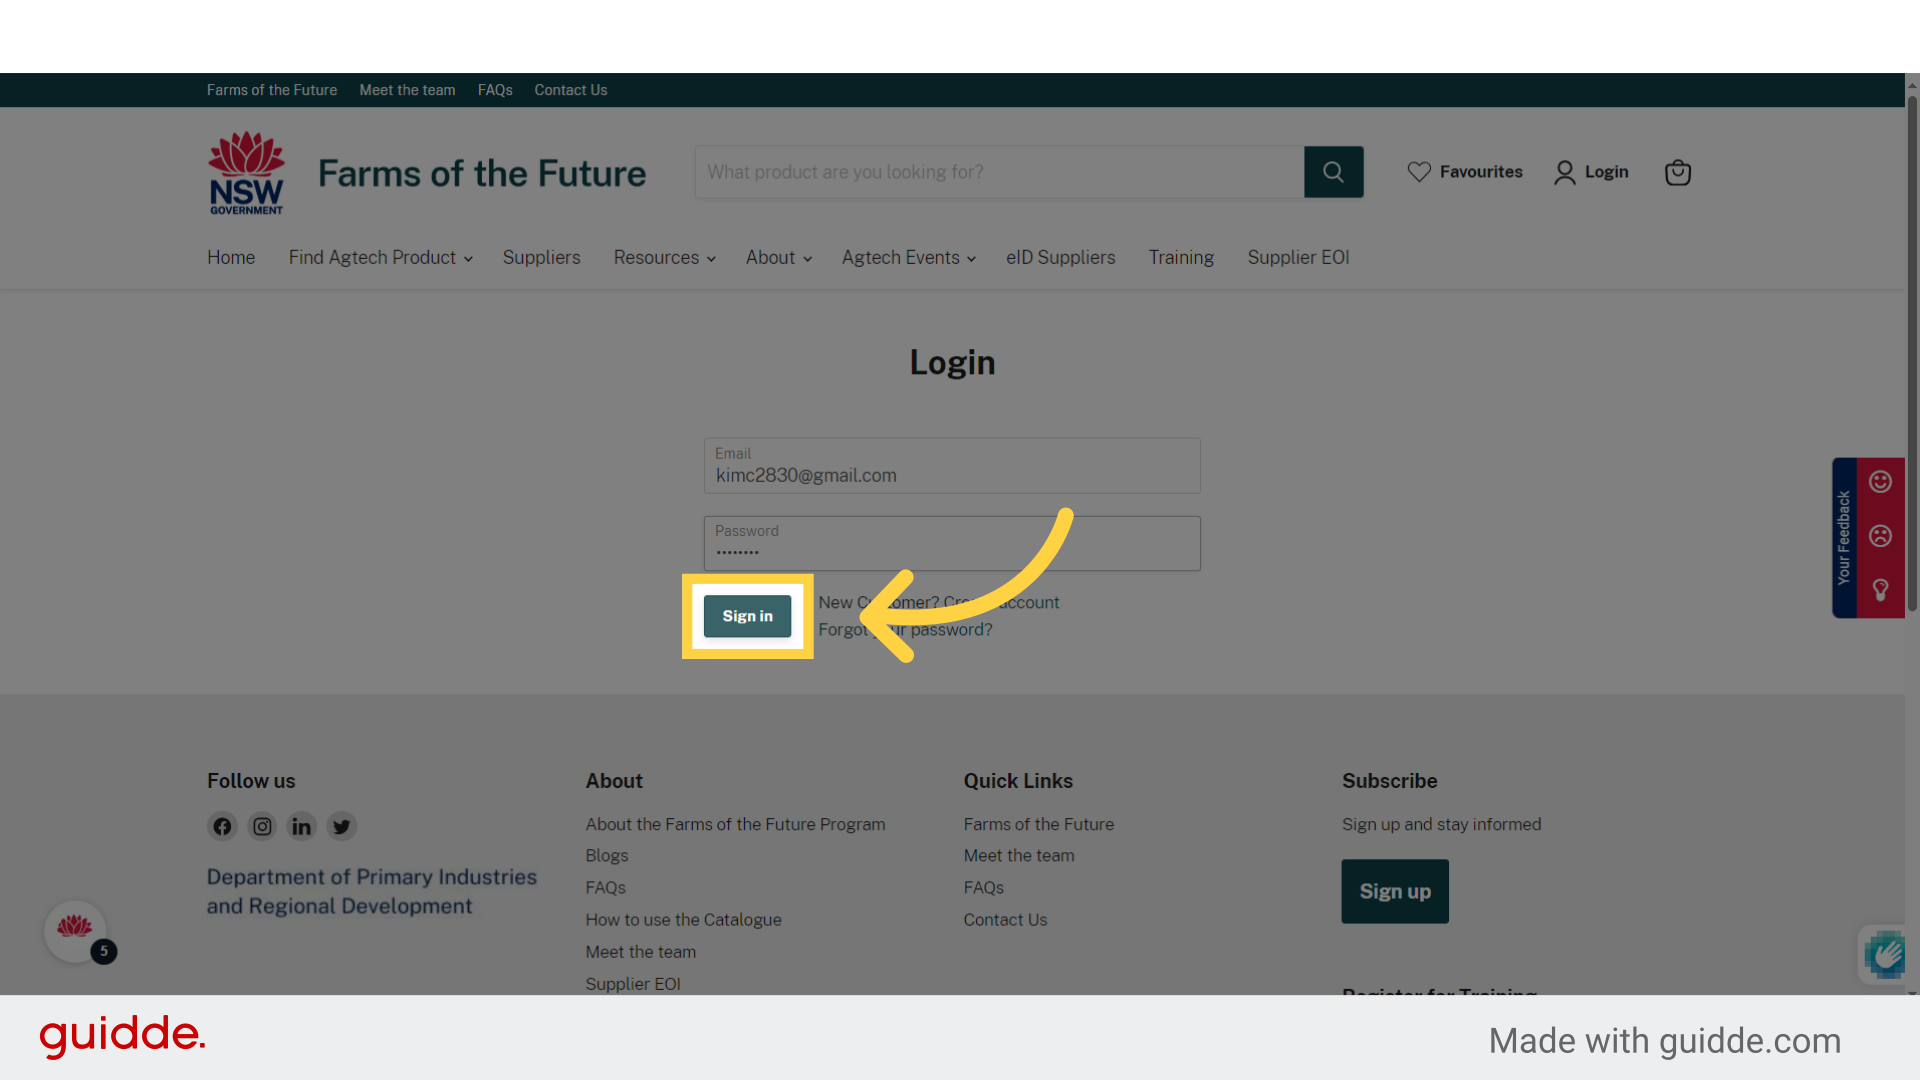
6. Click "Sign in"
Log in to your account.
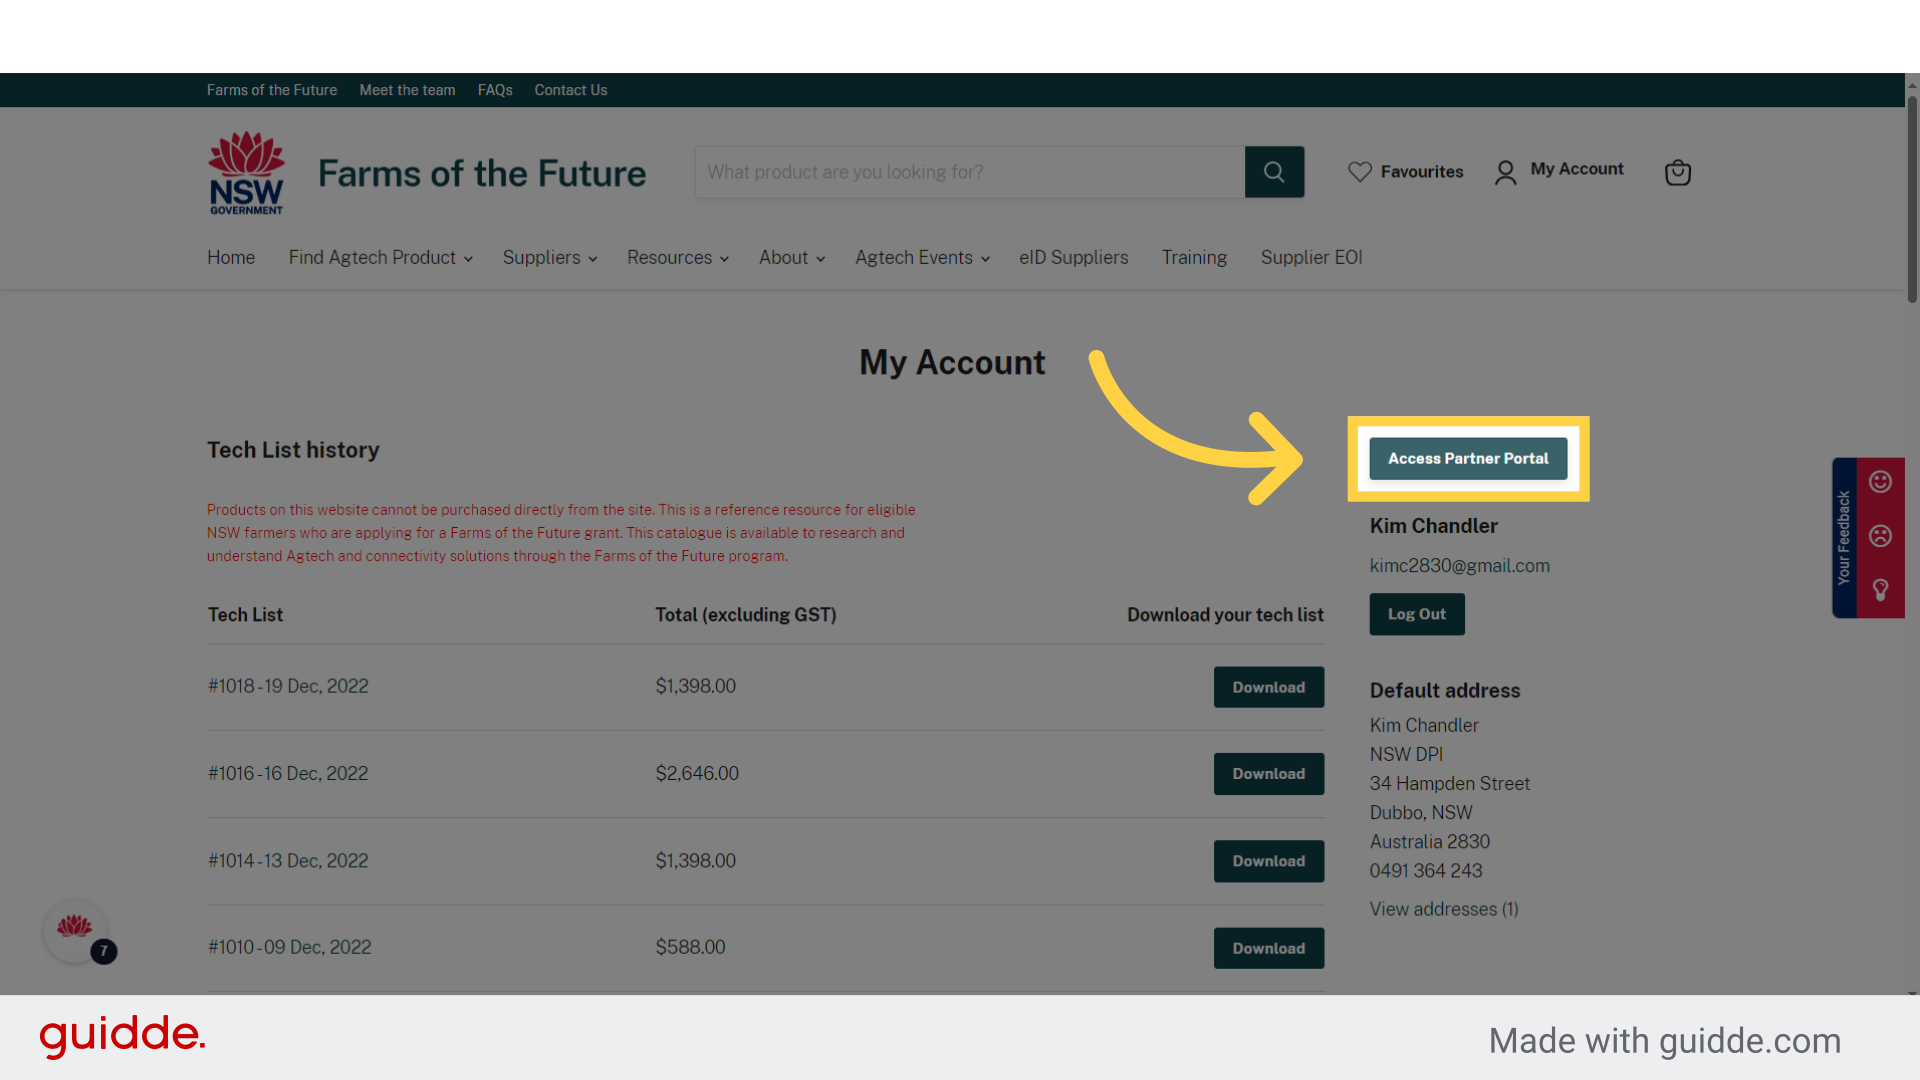
7. Click "Access Partner Portal"
Click on Access Partner Portal button
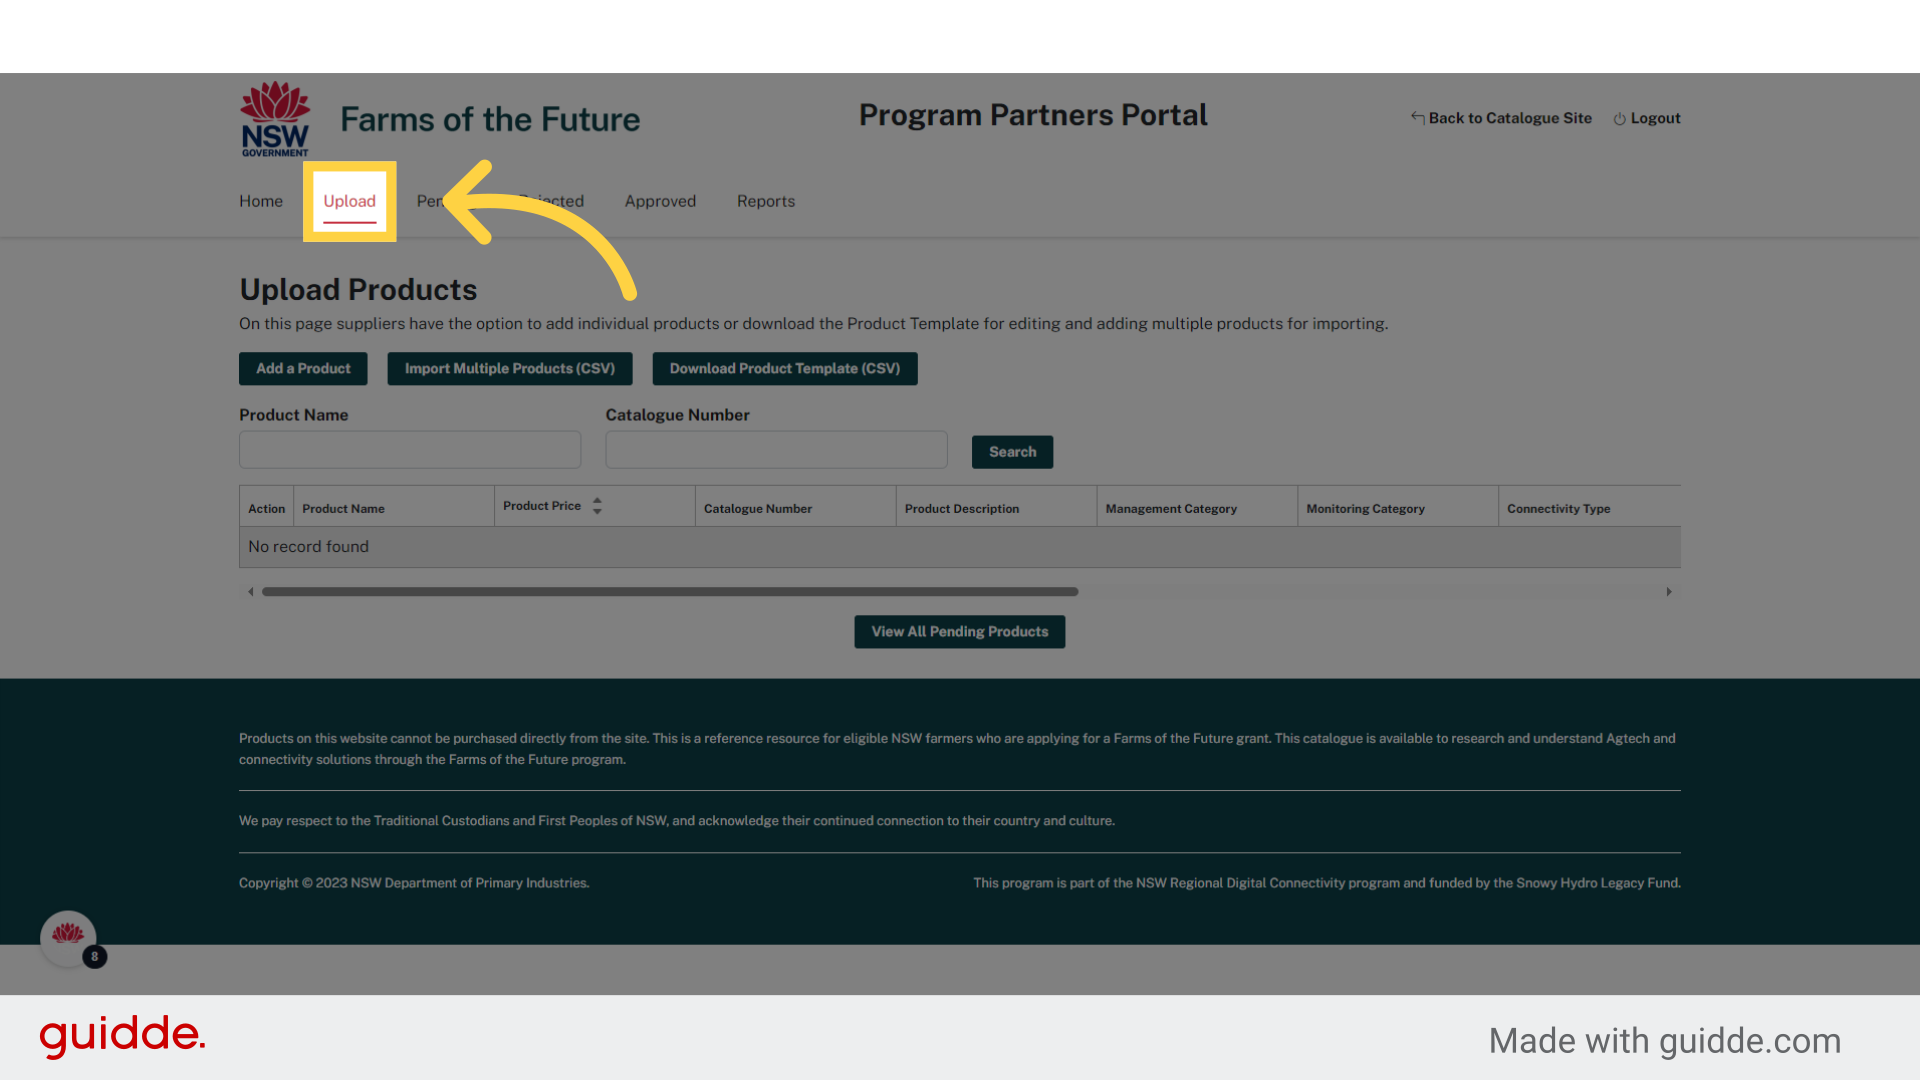
8. Click "Upload"
Select the upload option.
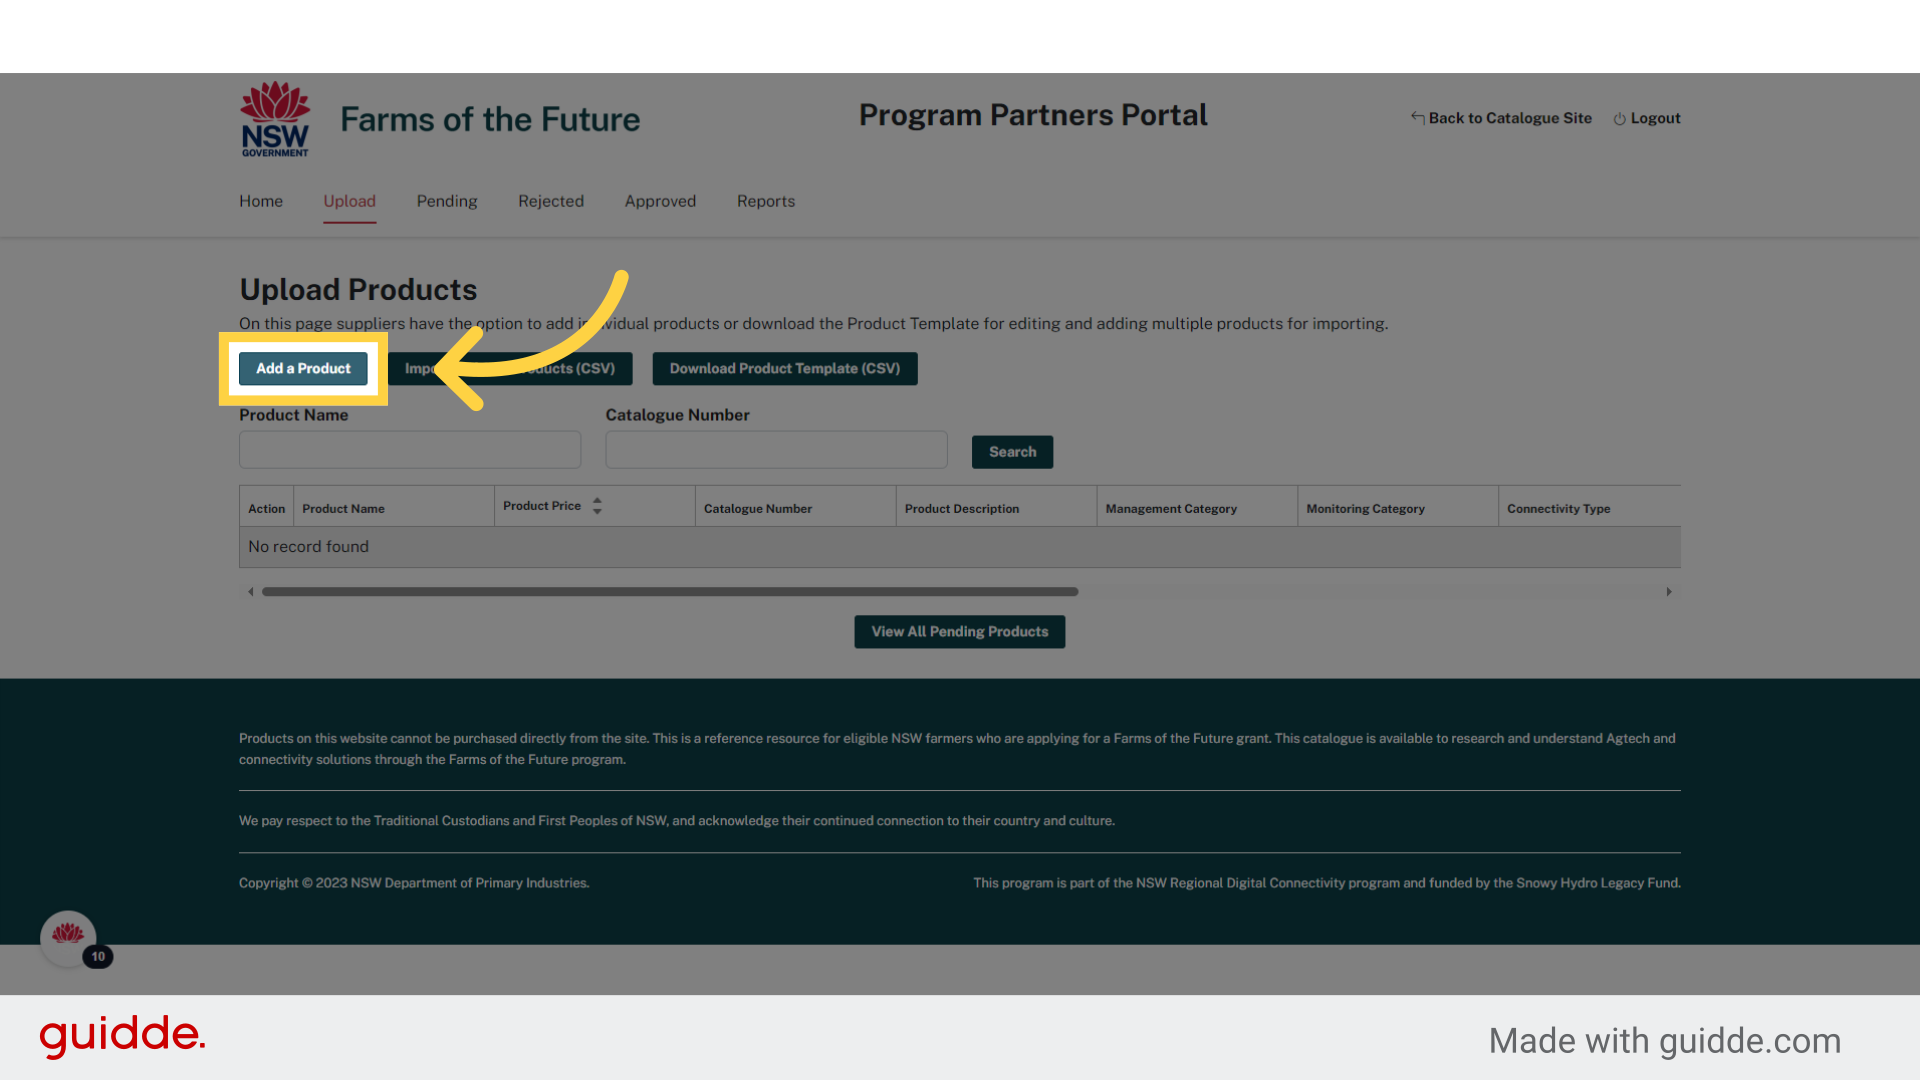
9. Click "Add a Product"
Choose to add a new product.
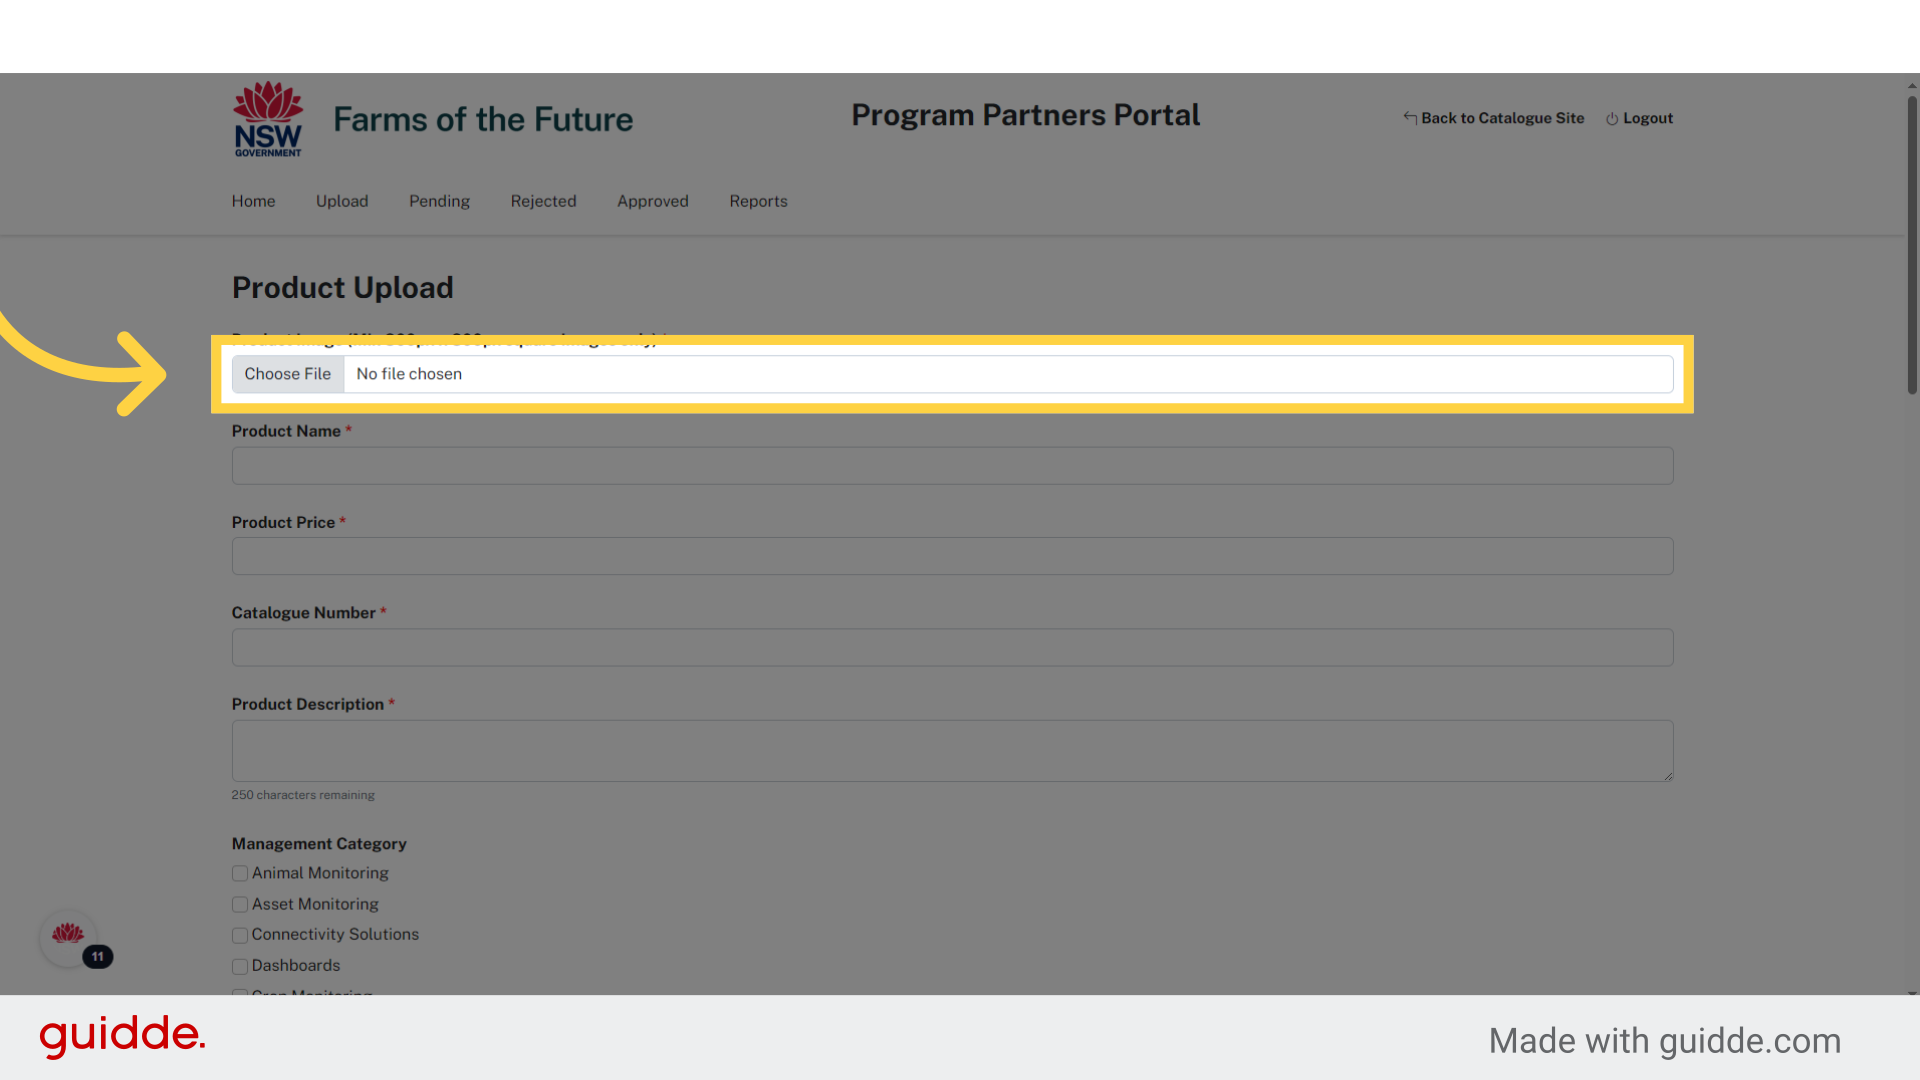
10. Click Product Image
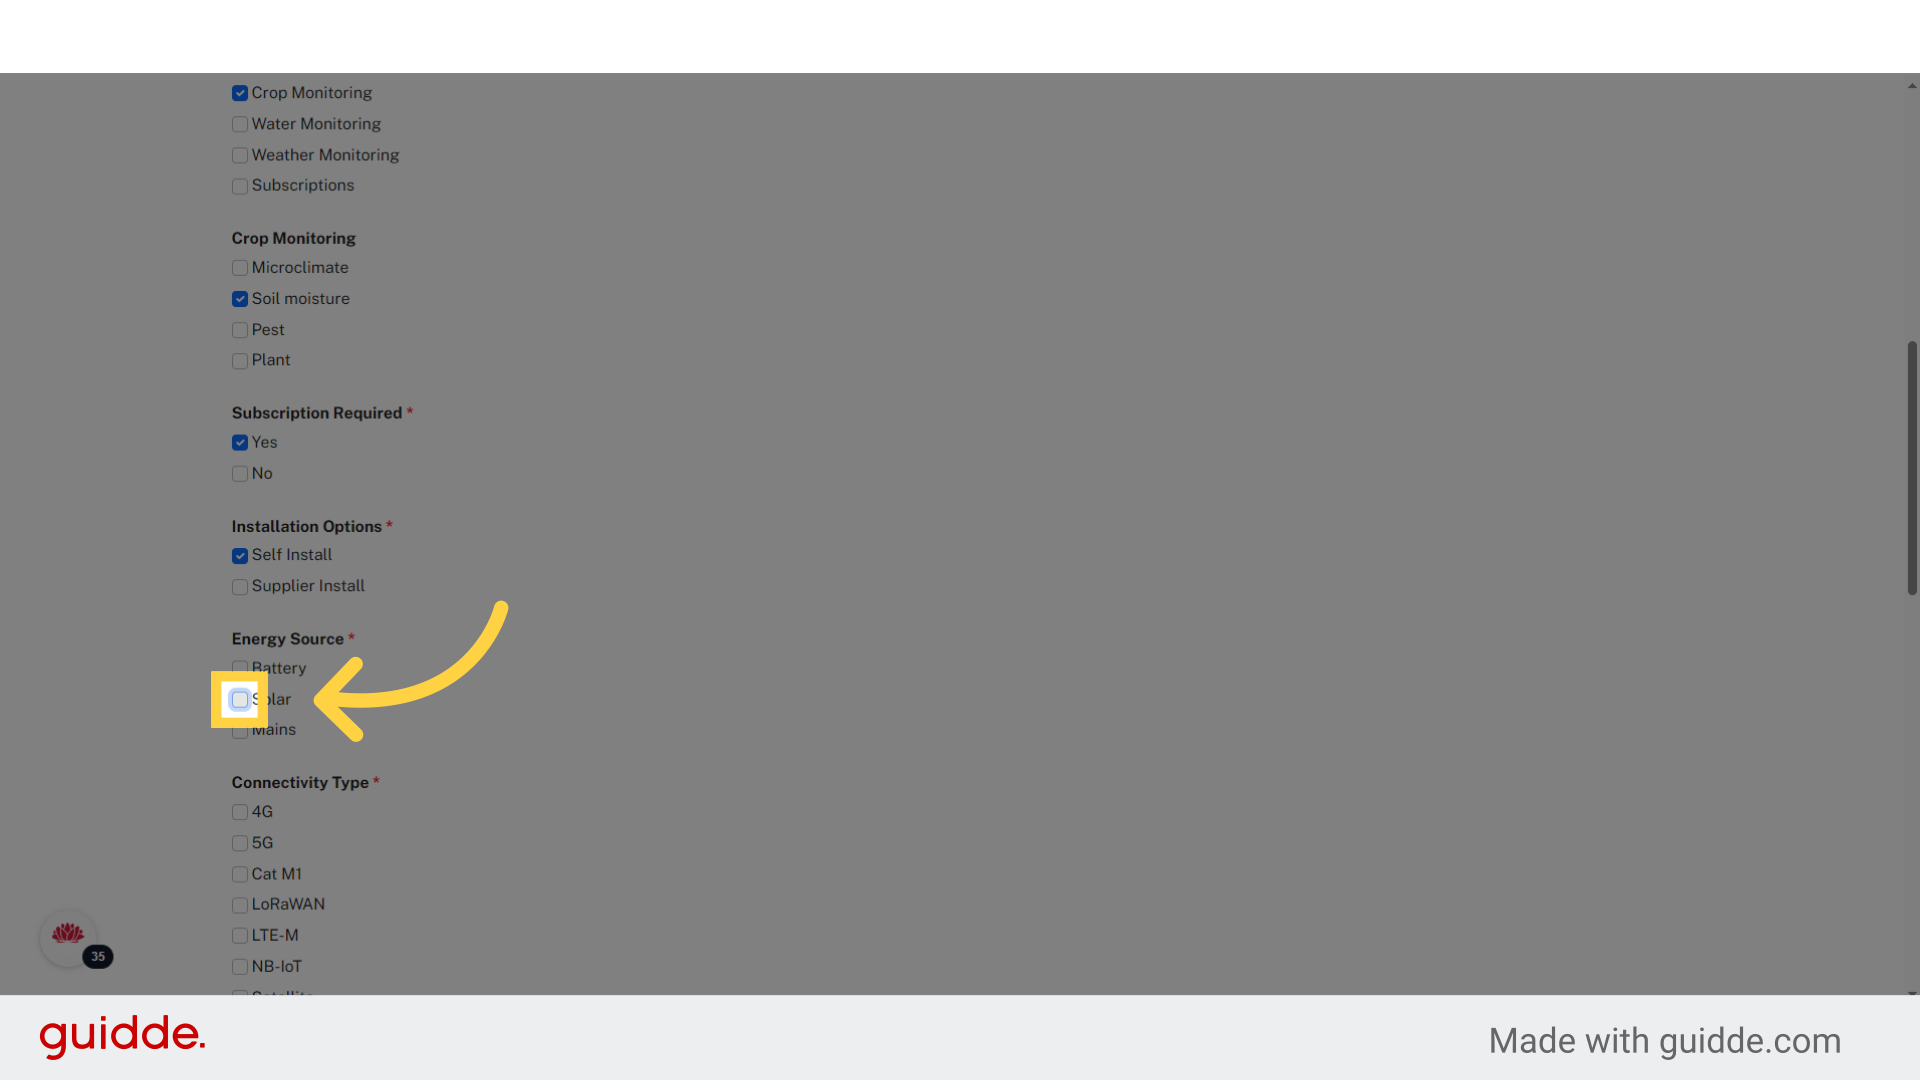
Upload a product image with specific dimensions. All images must be square, 800 pixel is preferred
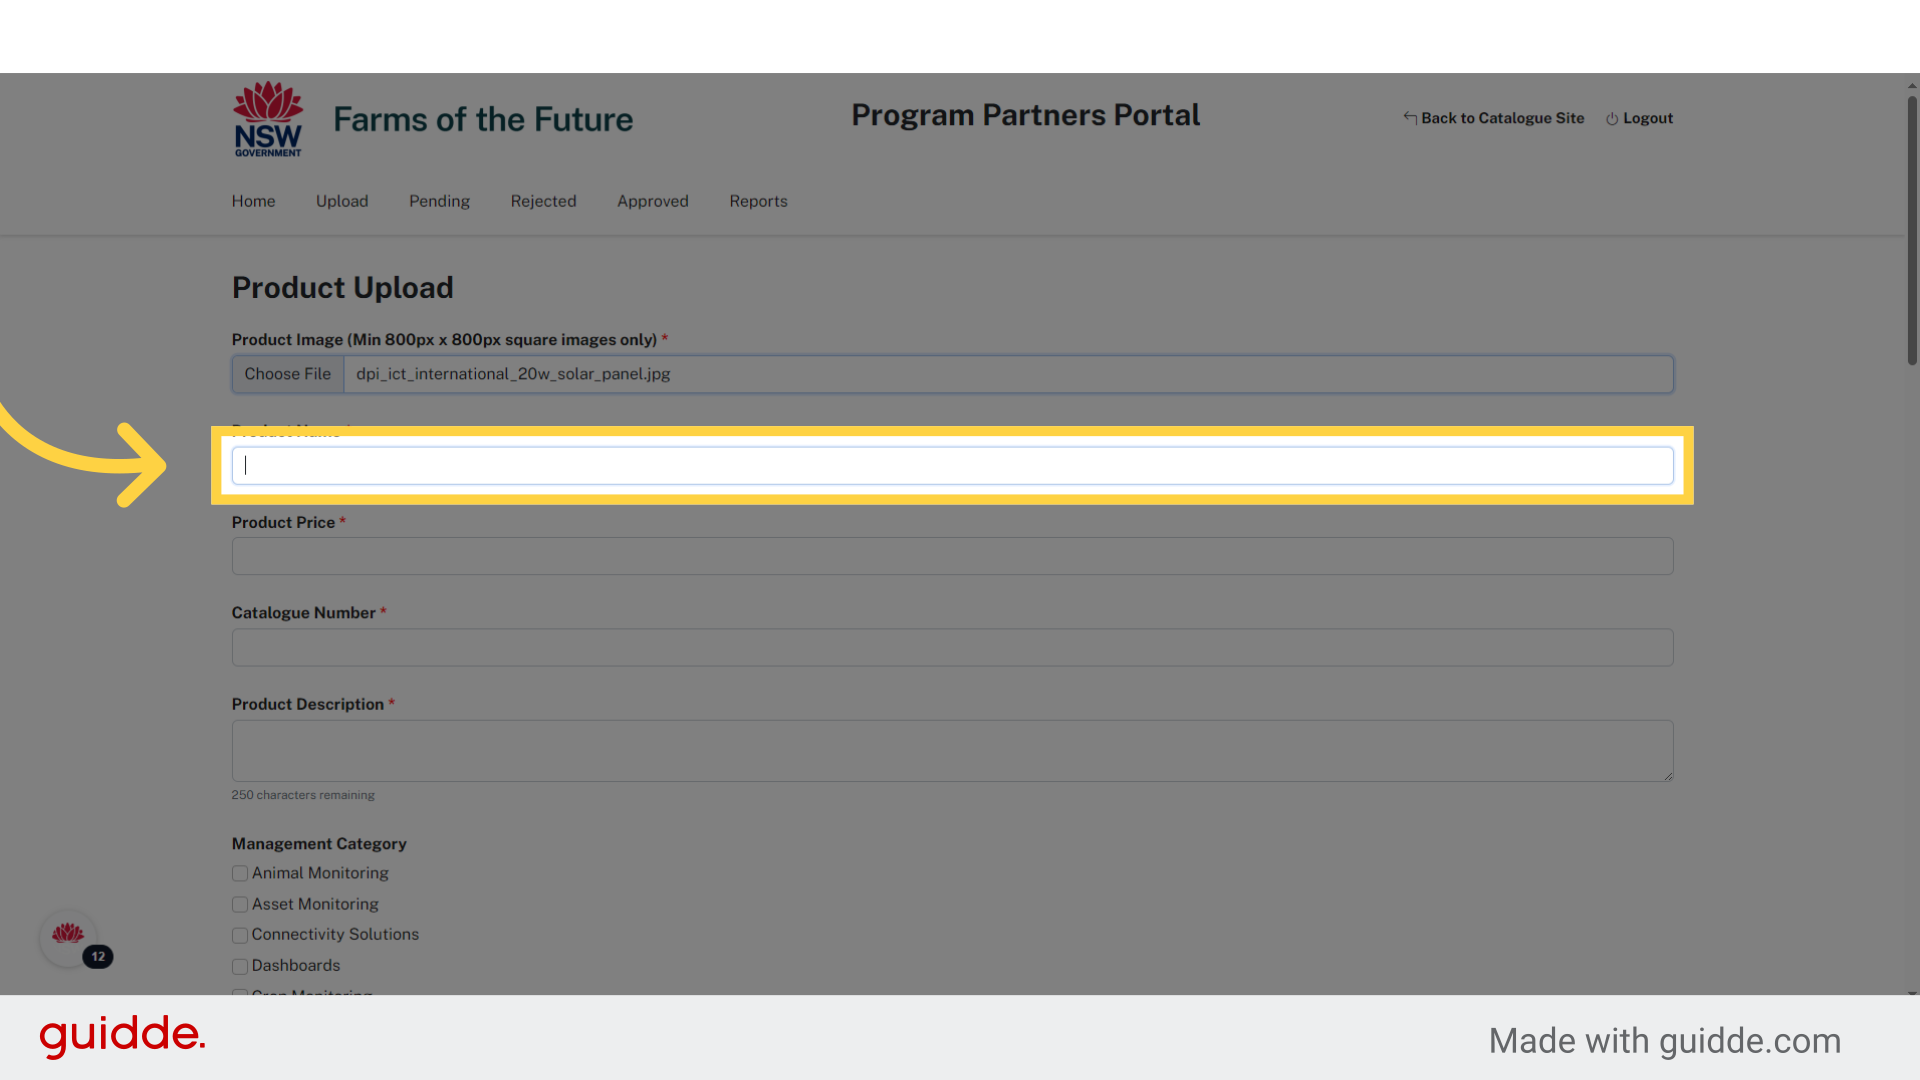
11. Click "Product Name"
Enter the product name. Be clear on what the product does.
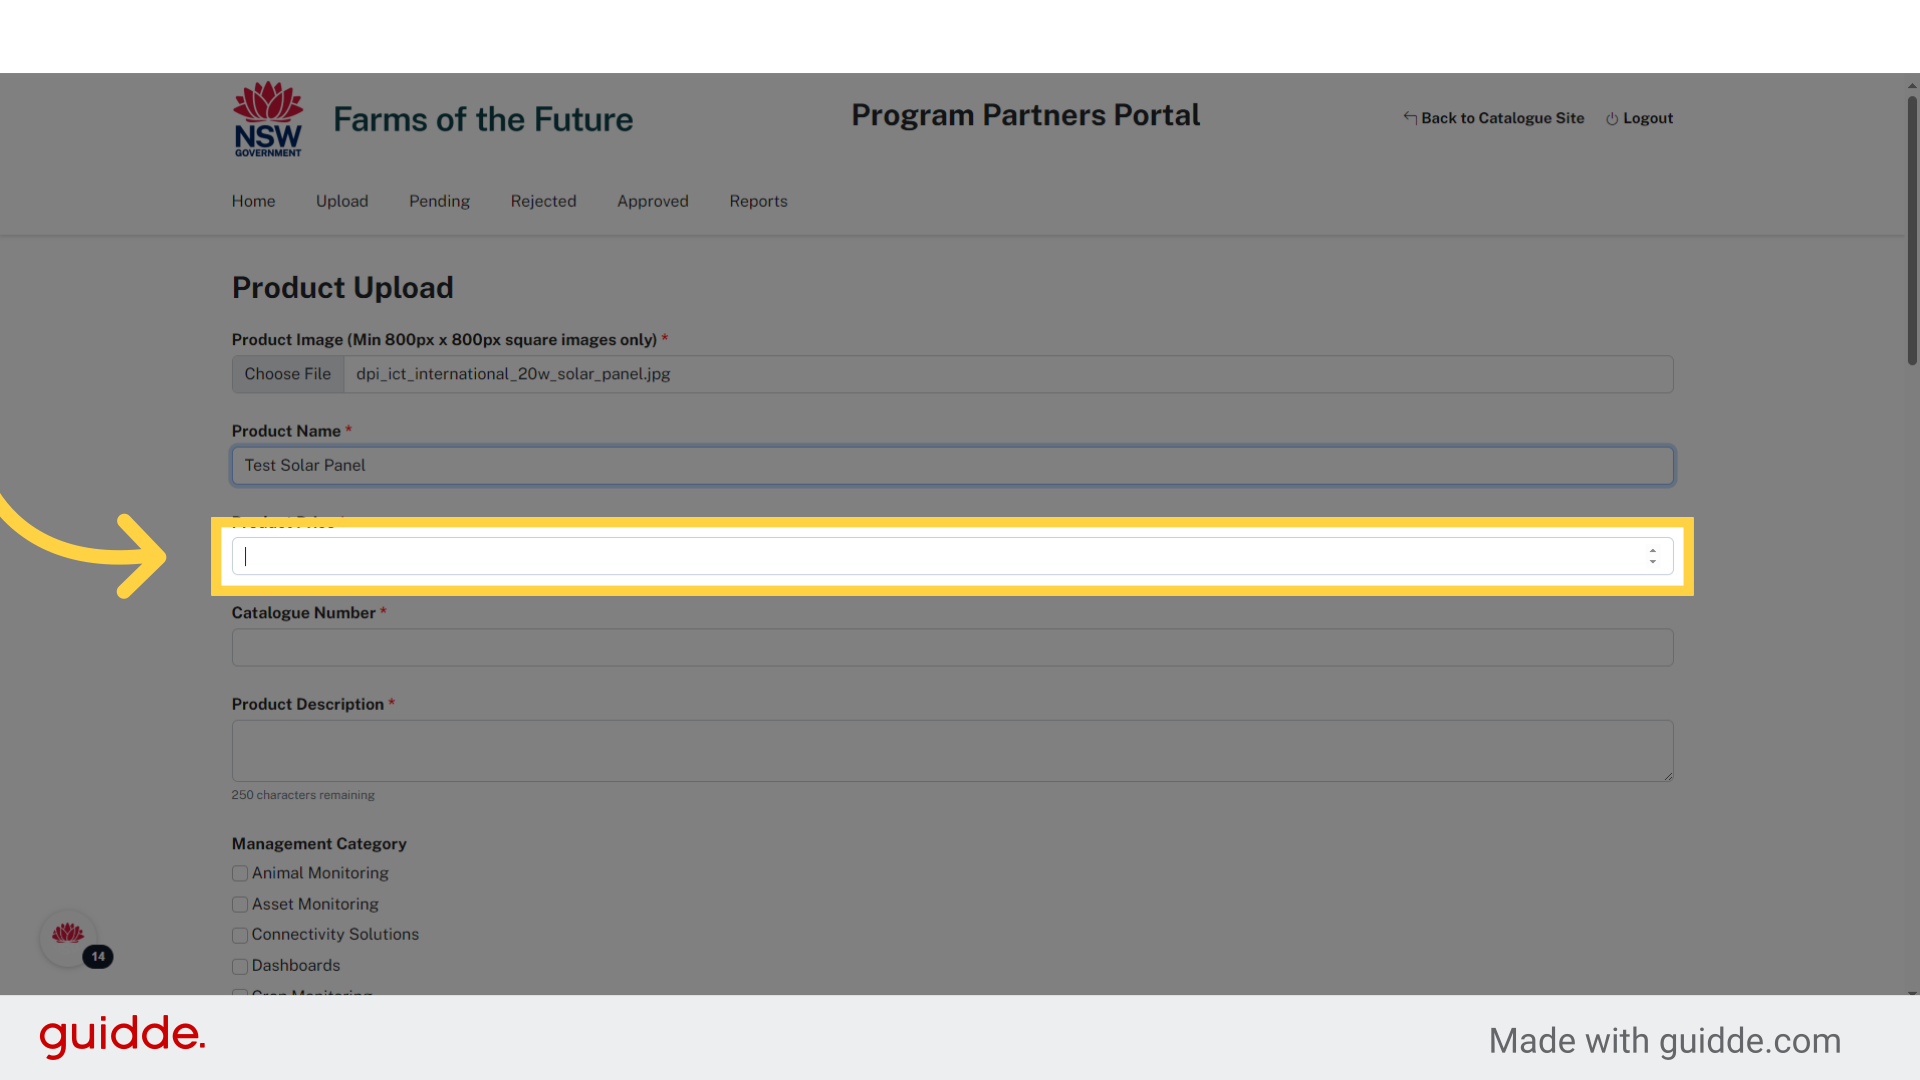
12. Click "Product Price"
Specify the product price excluding GST.
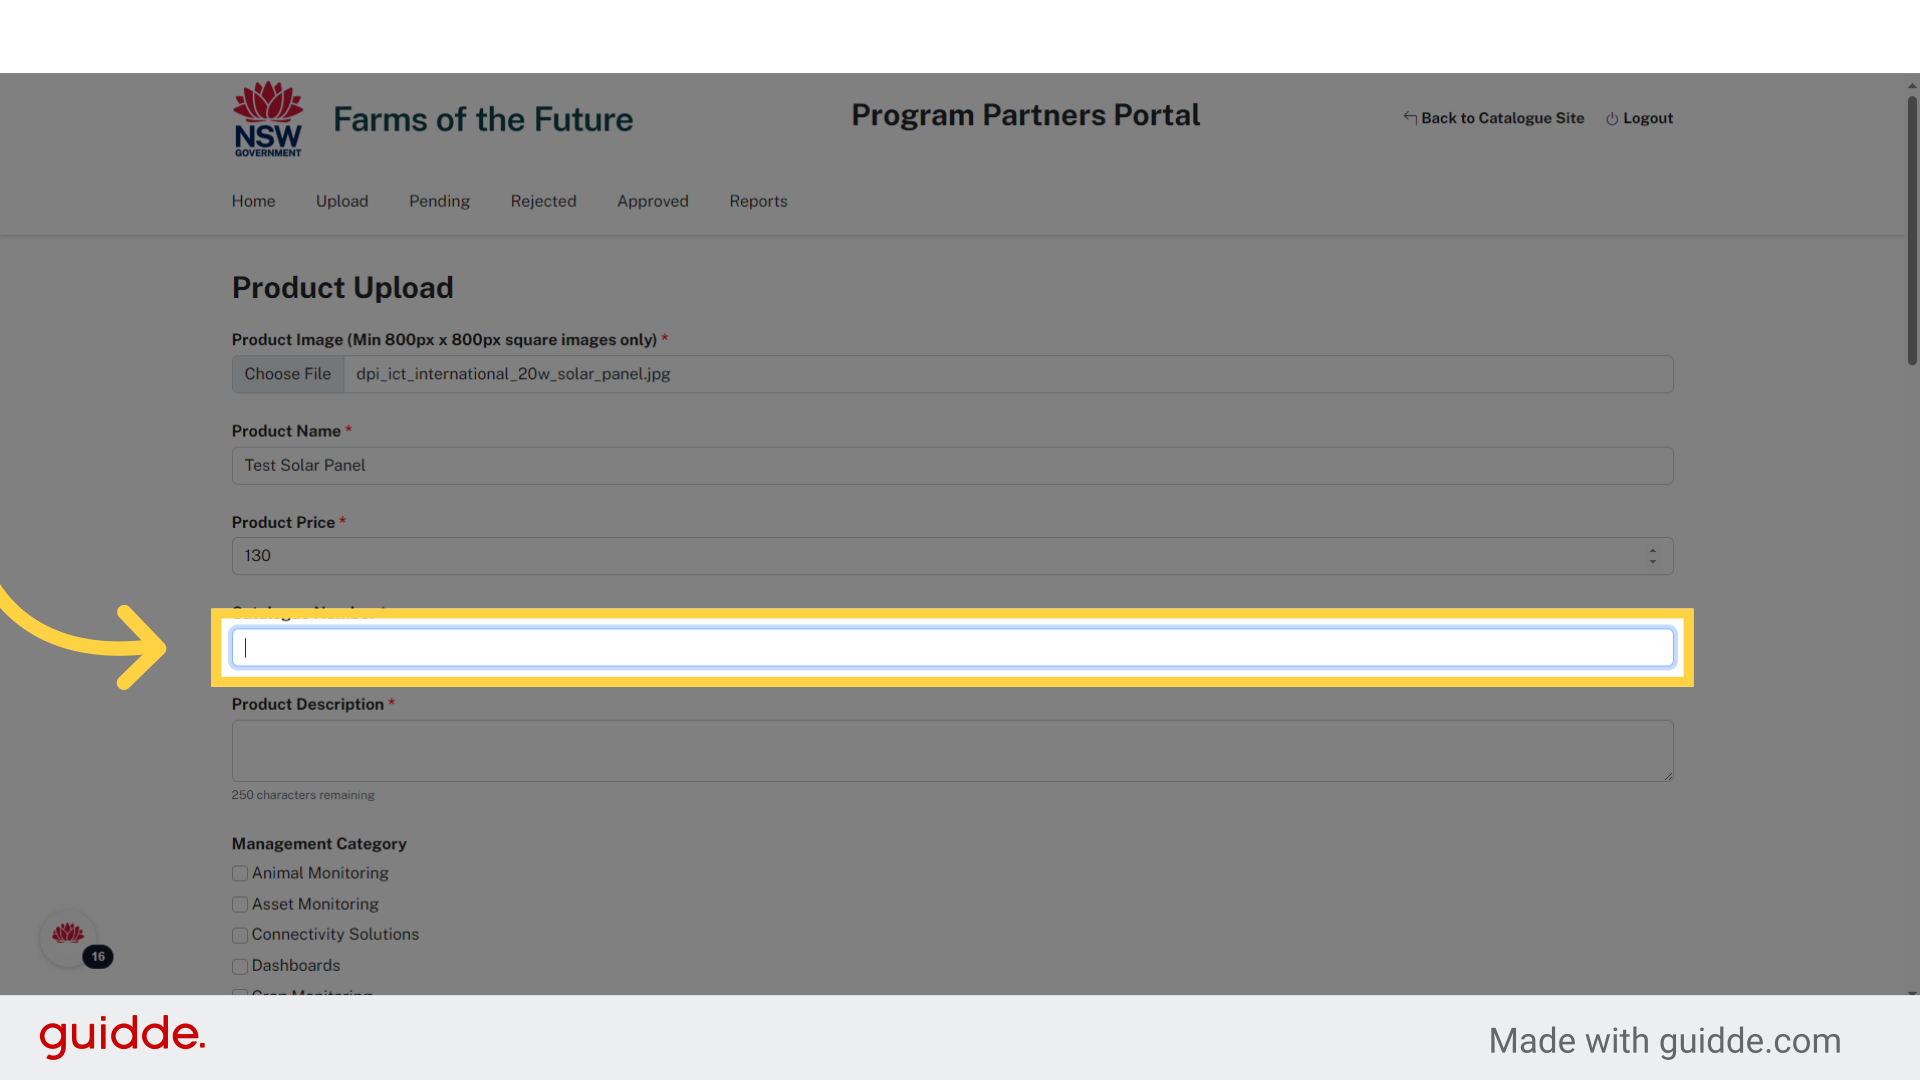
13. Product SKU number
Add product SKU number that your business normally uses
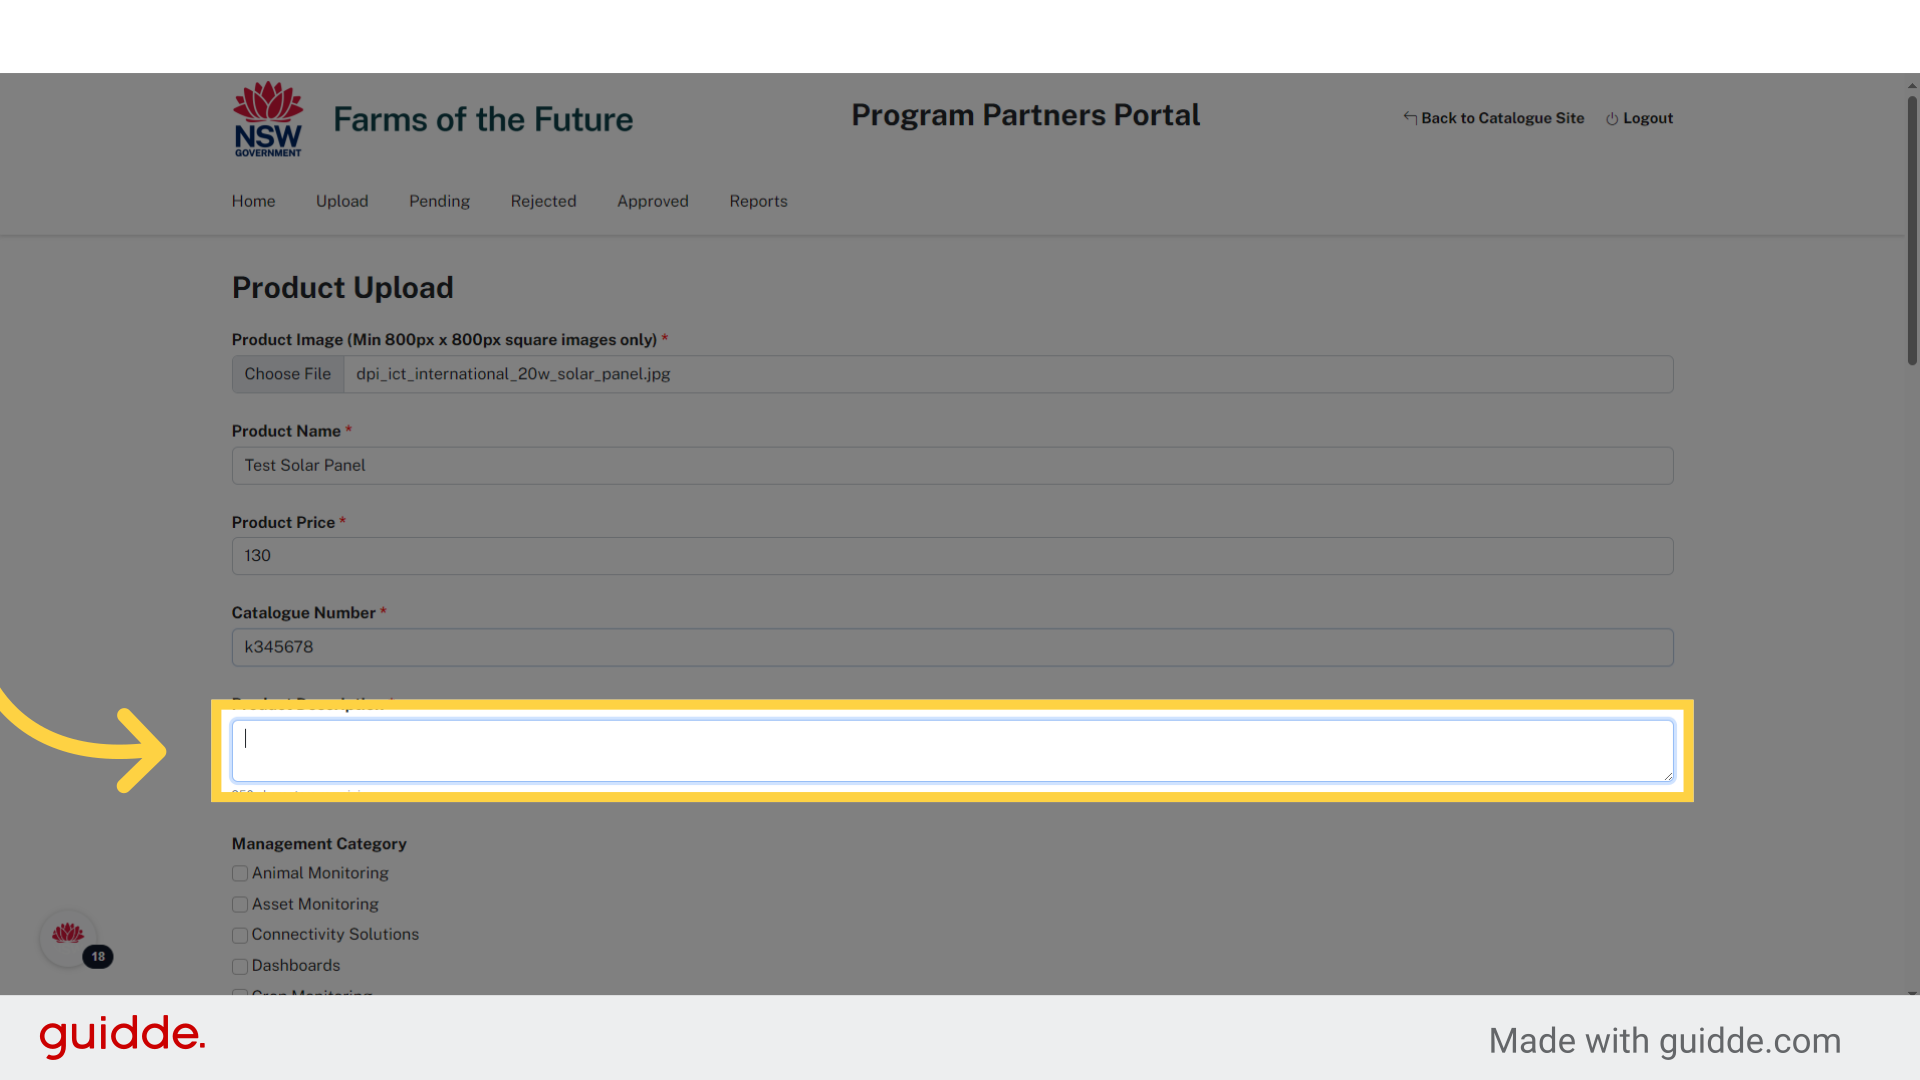
14. Click "Product Description"
Enter the product description. 250 character limit. Concise description on what your product is and what it is used for.
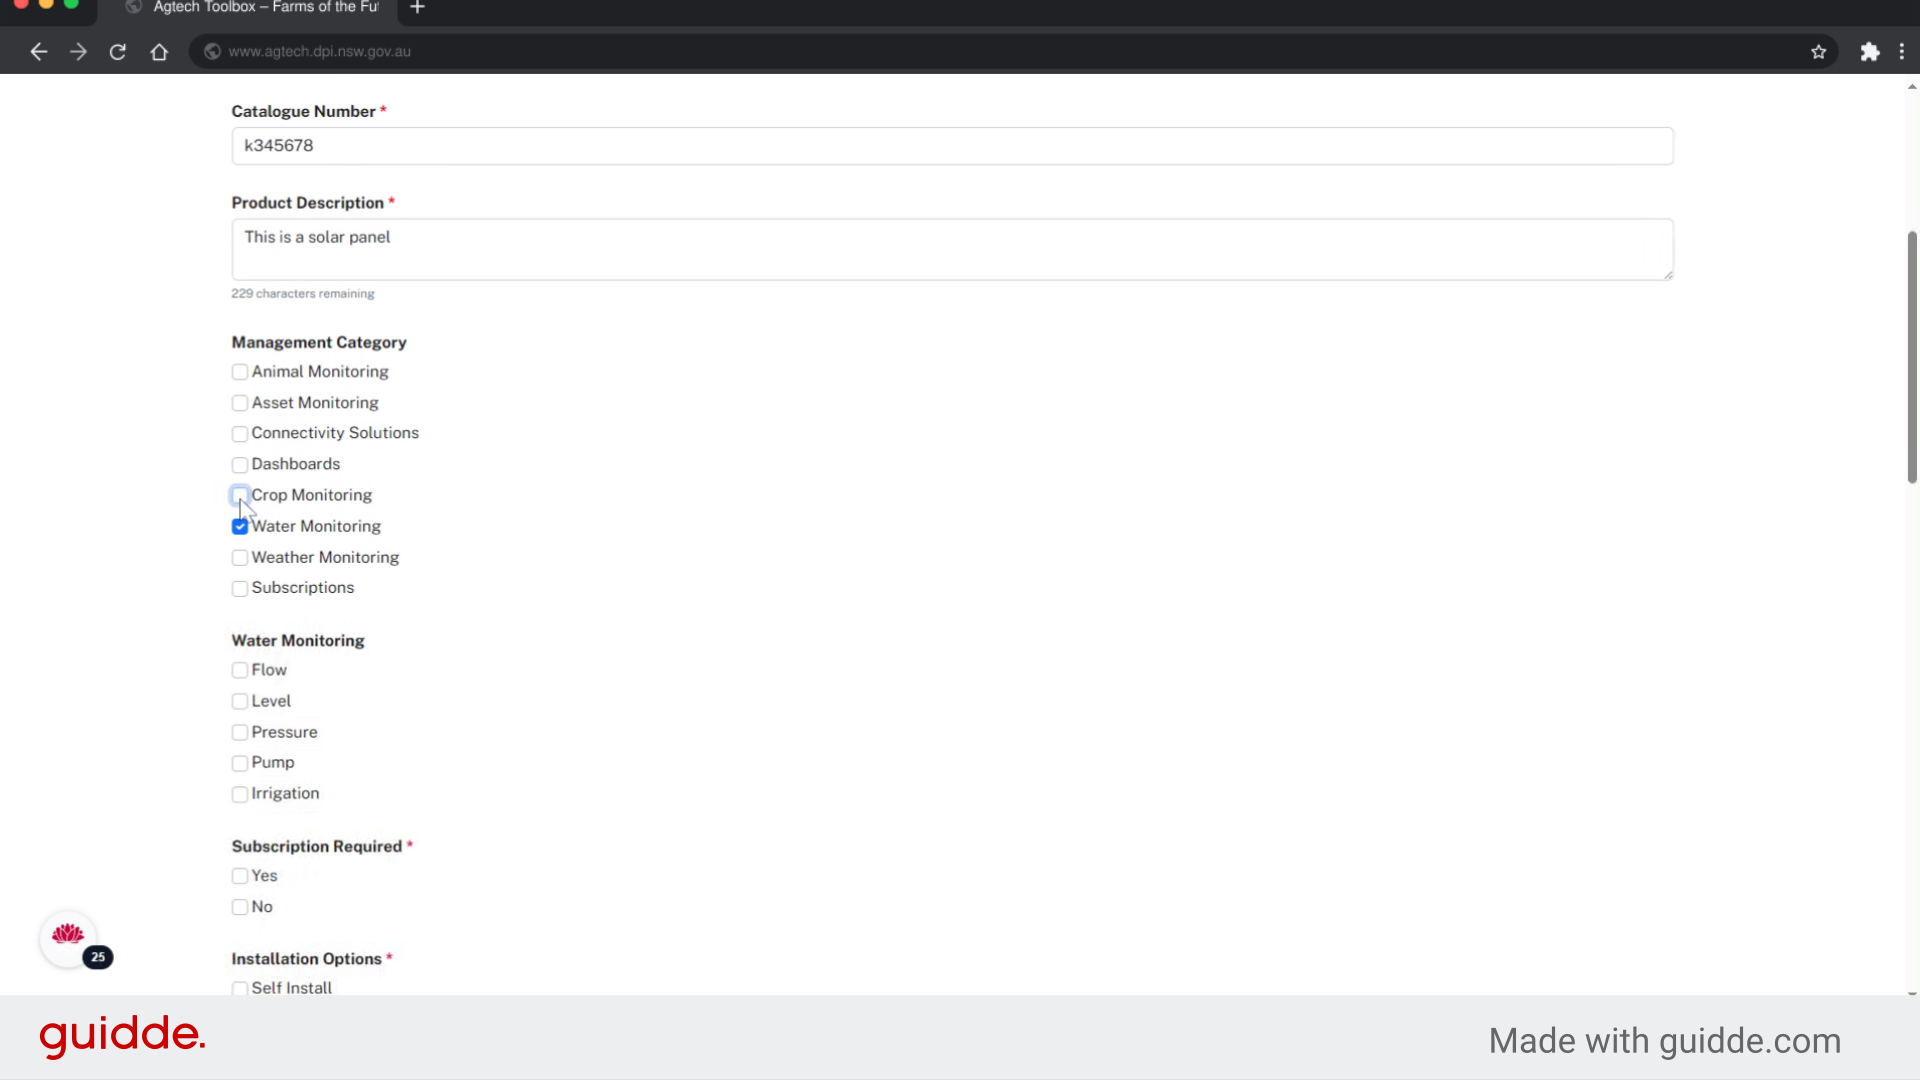
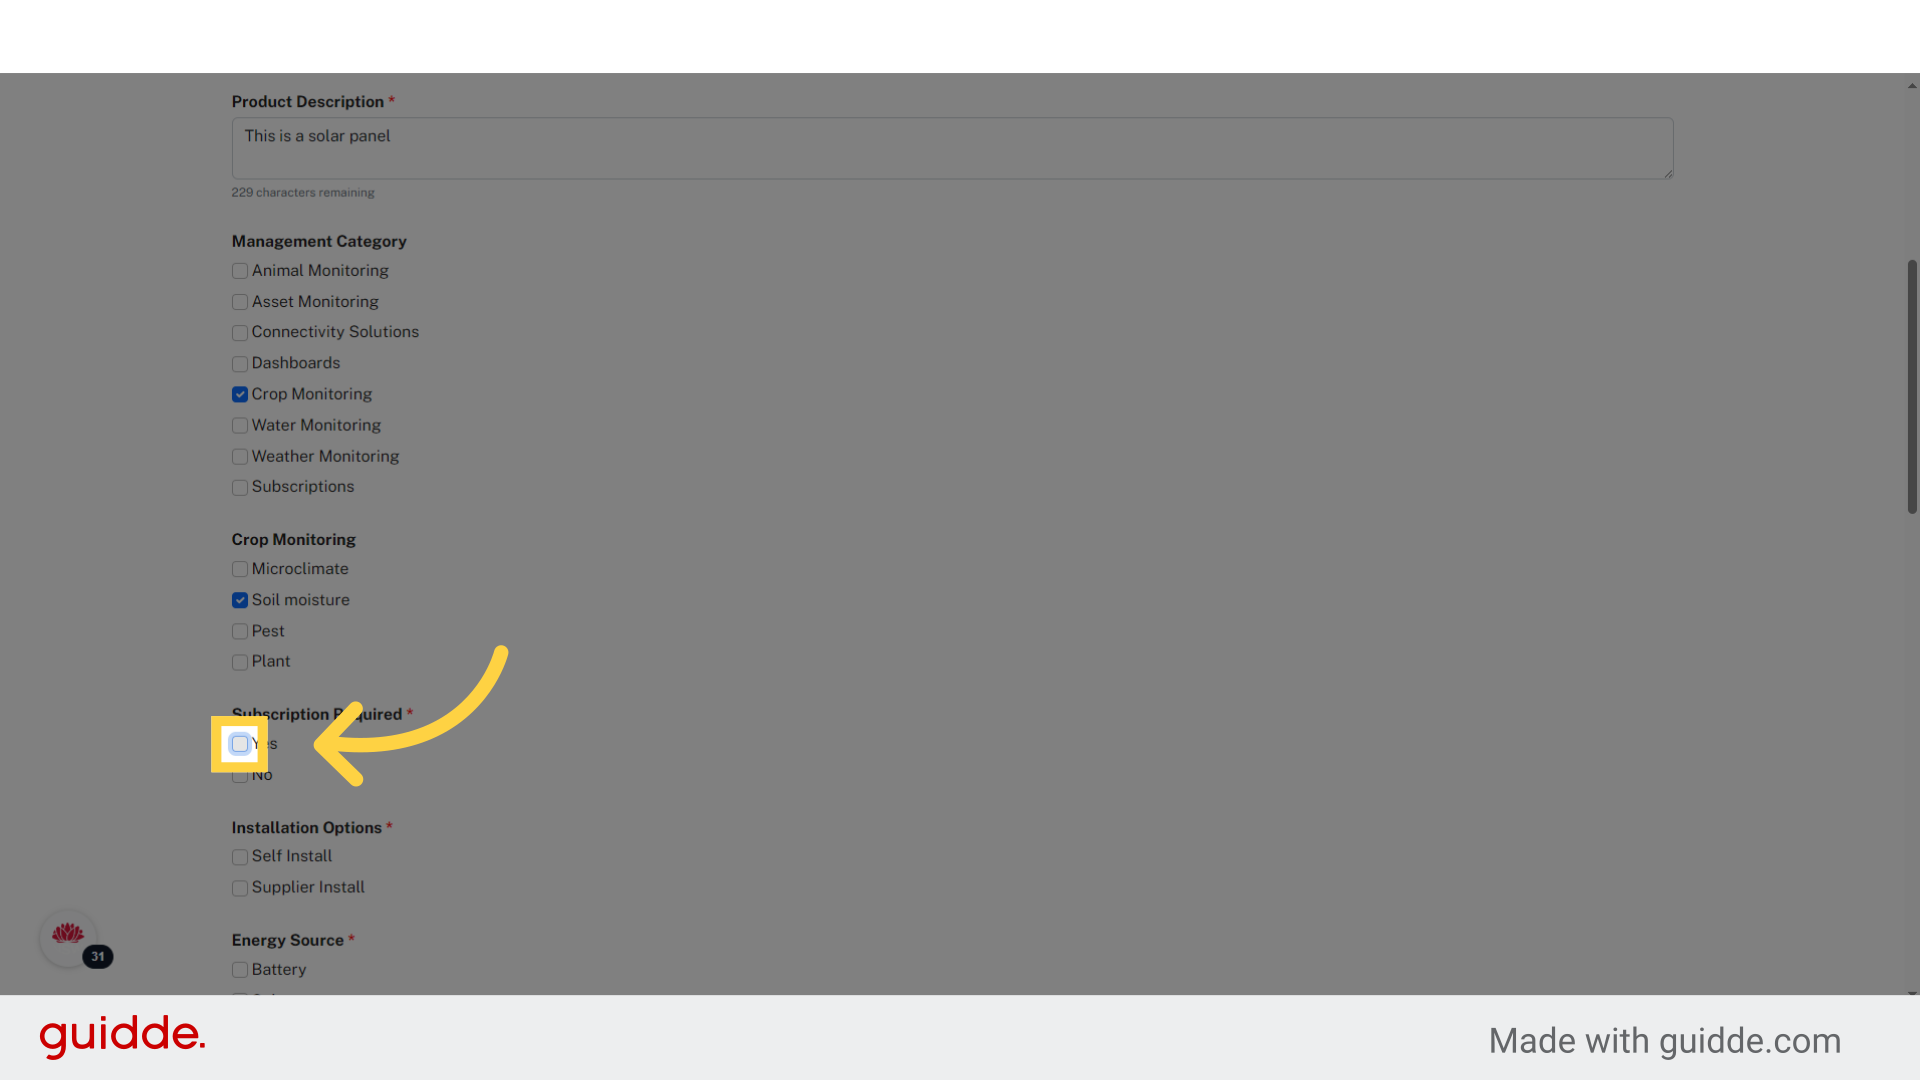
15. Click Management Category
Add the product management categories for this product
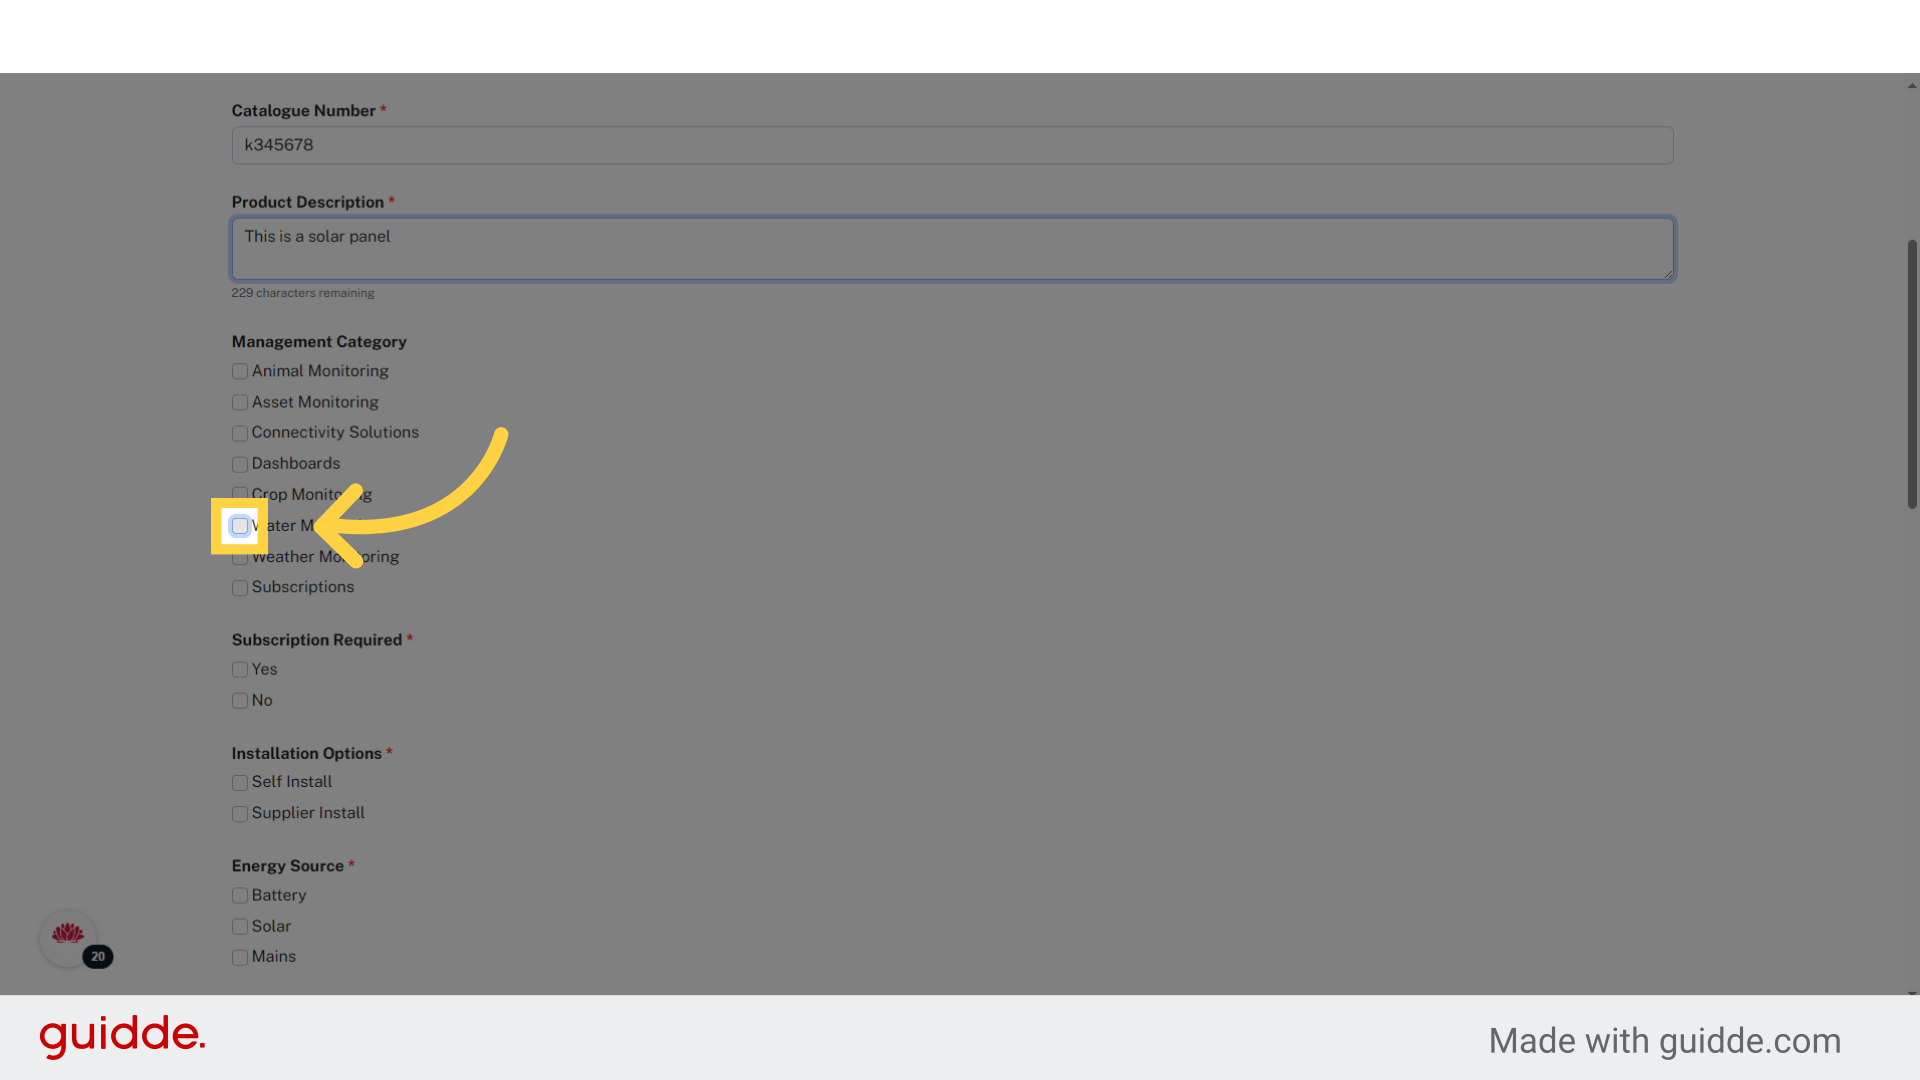
16. Complete monitoring category
Fill in monitoring category if requested
17. Click subscription
In the subscription section, select "Yes" if your product requires a subscription. This is an important step. If your product requires a subscription, then add the subscription name in the comment section below. All subscriptions must be added to the Toolbox as a separate product.
18. Go to installation
Select whether your product is self-install or supplier install or BOTH.
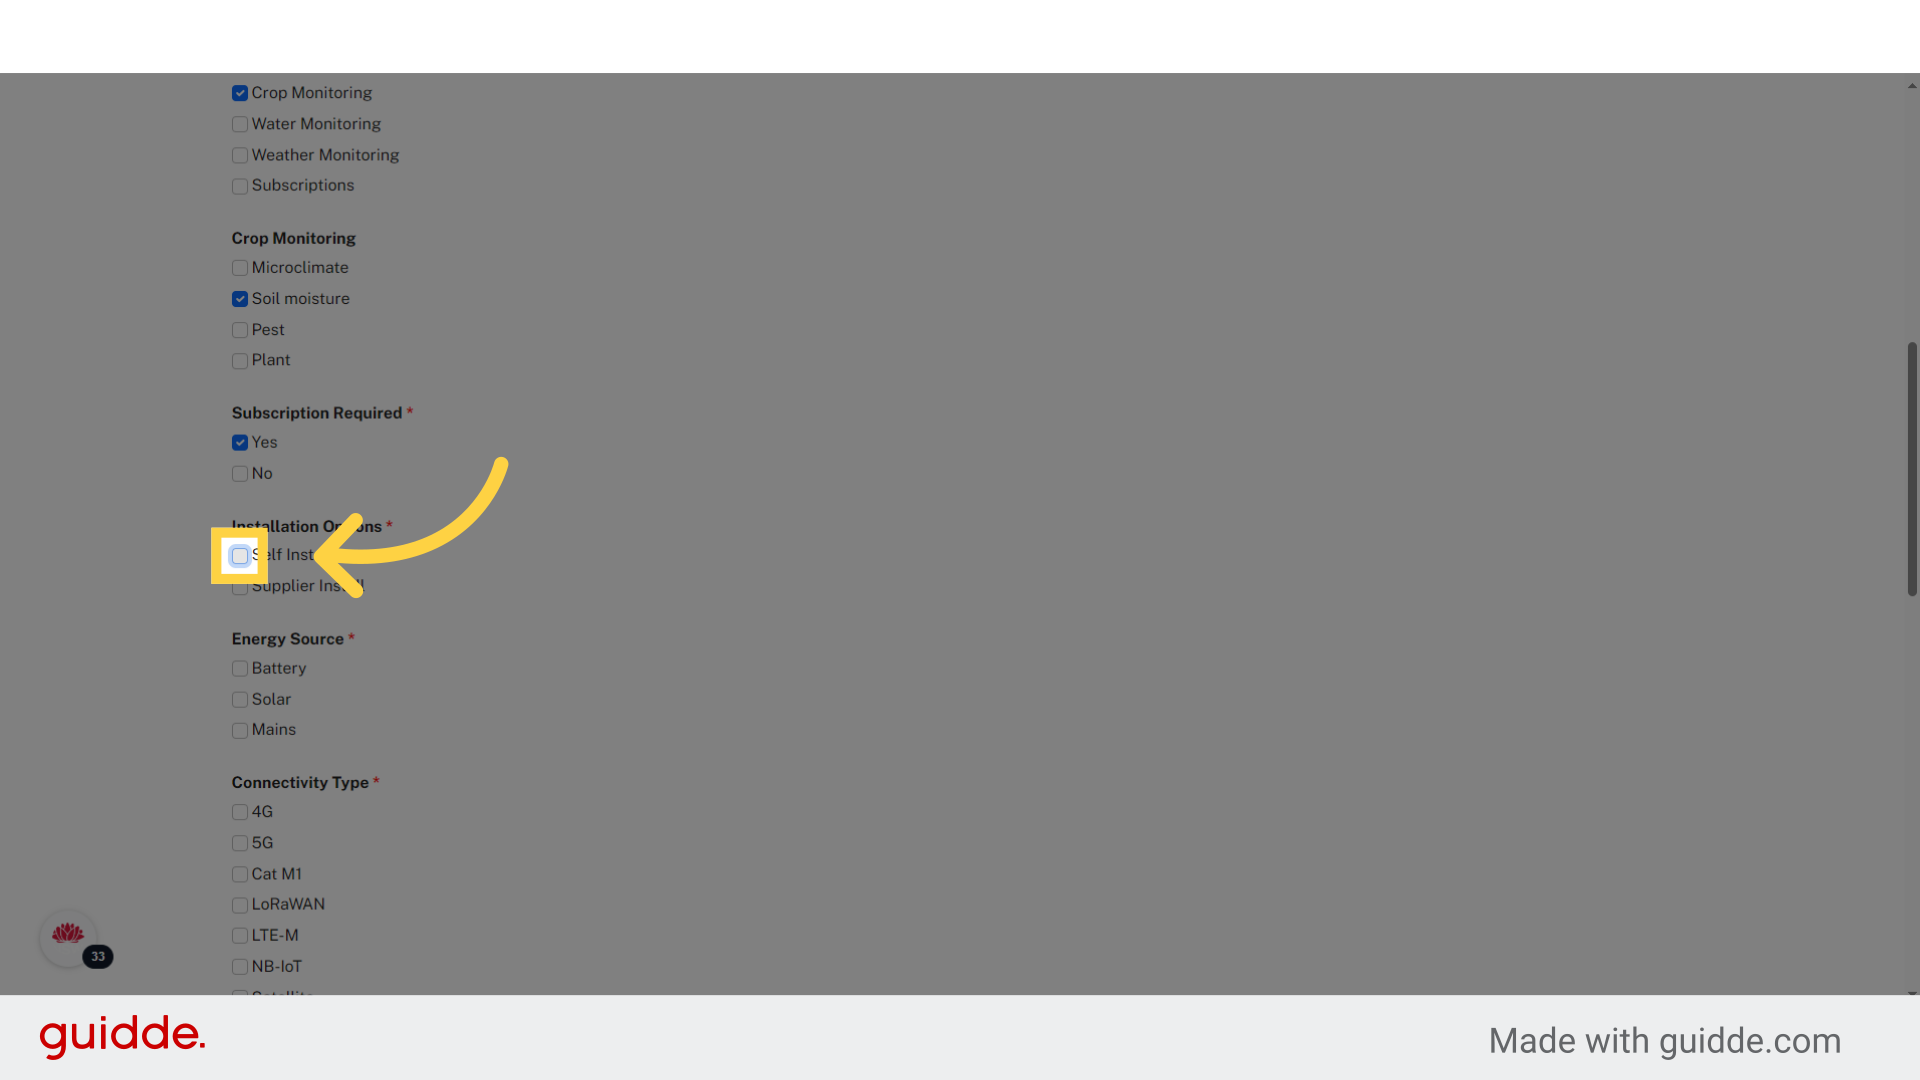
19. Go to energy source
Select the energy source your product requires.
20. Go to Connectivity Type
Click on the connectivity that works with your product. You can select multiple options.

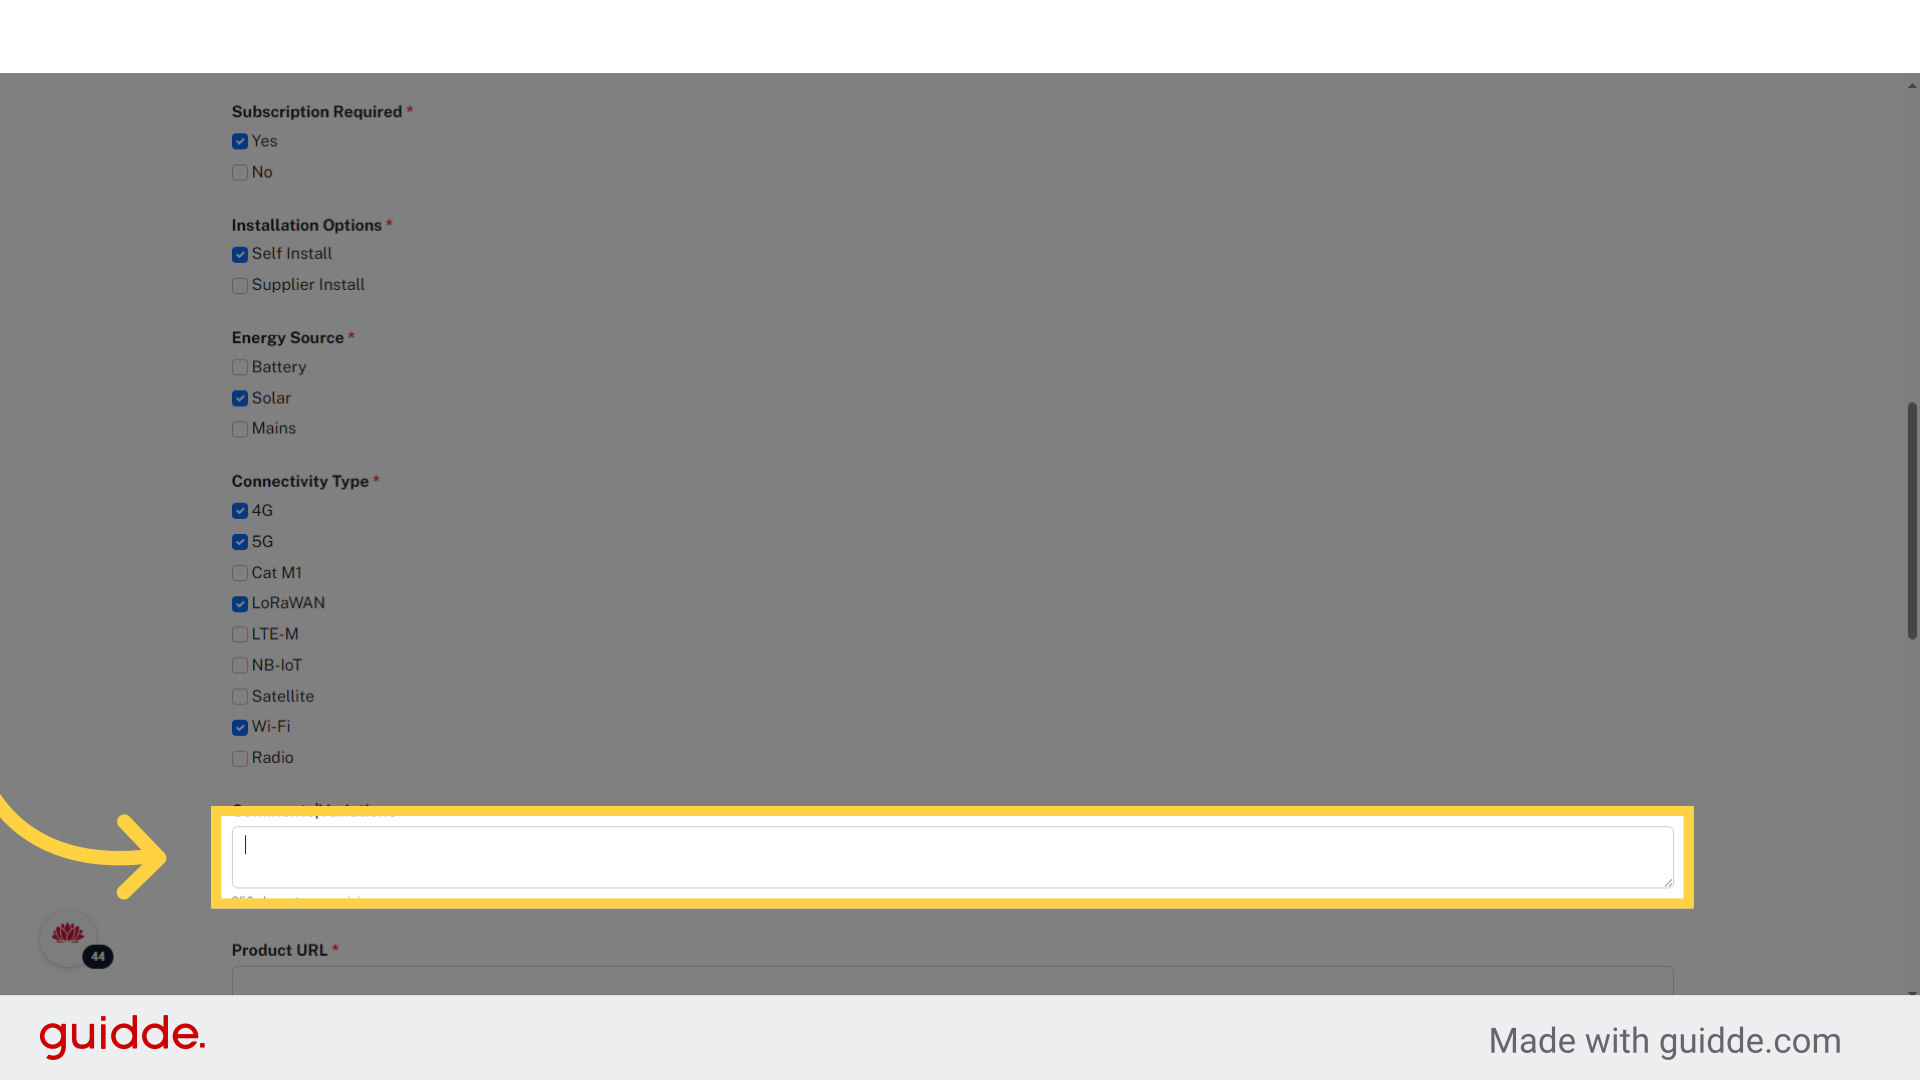
21. Click "Comments|Variations"
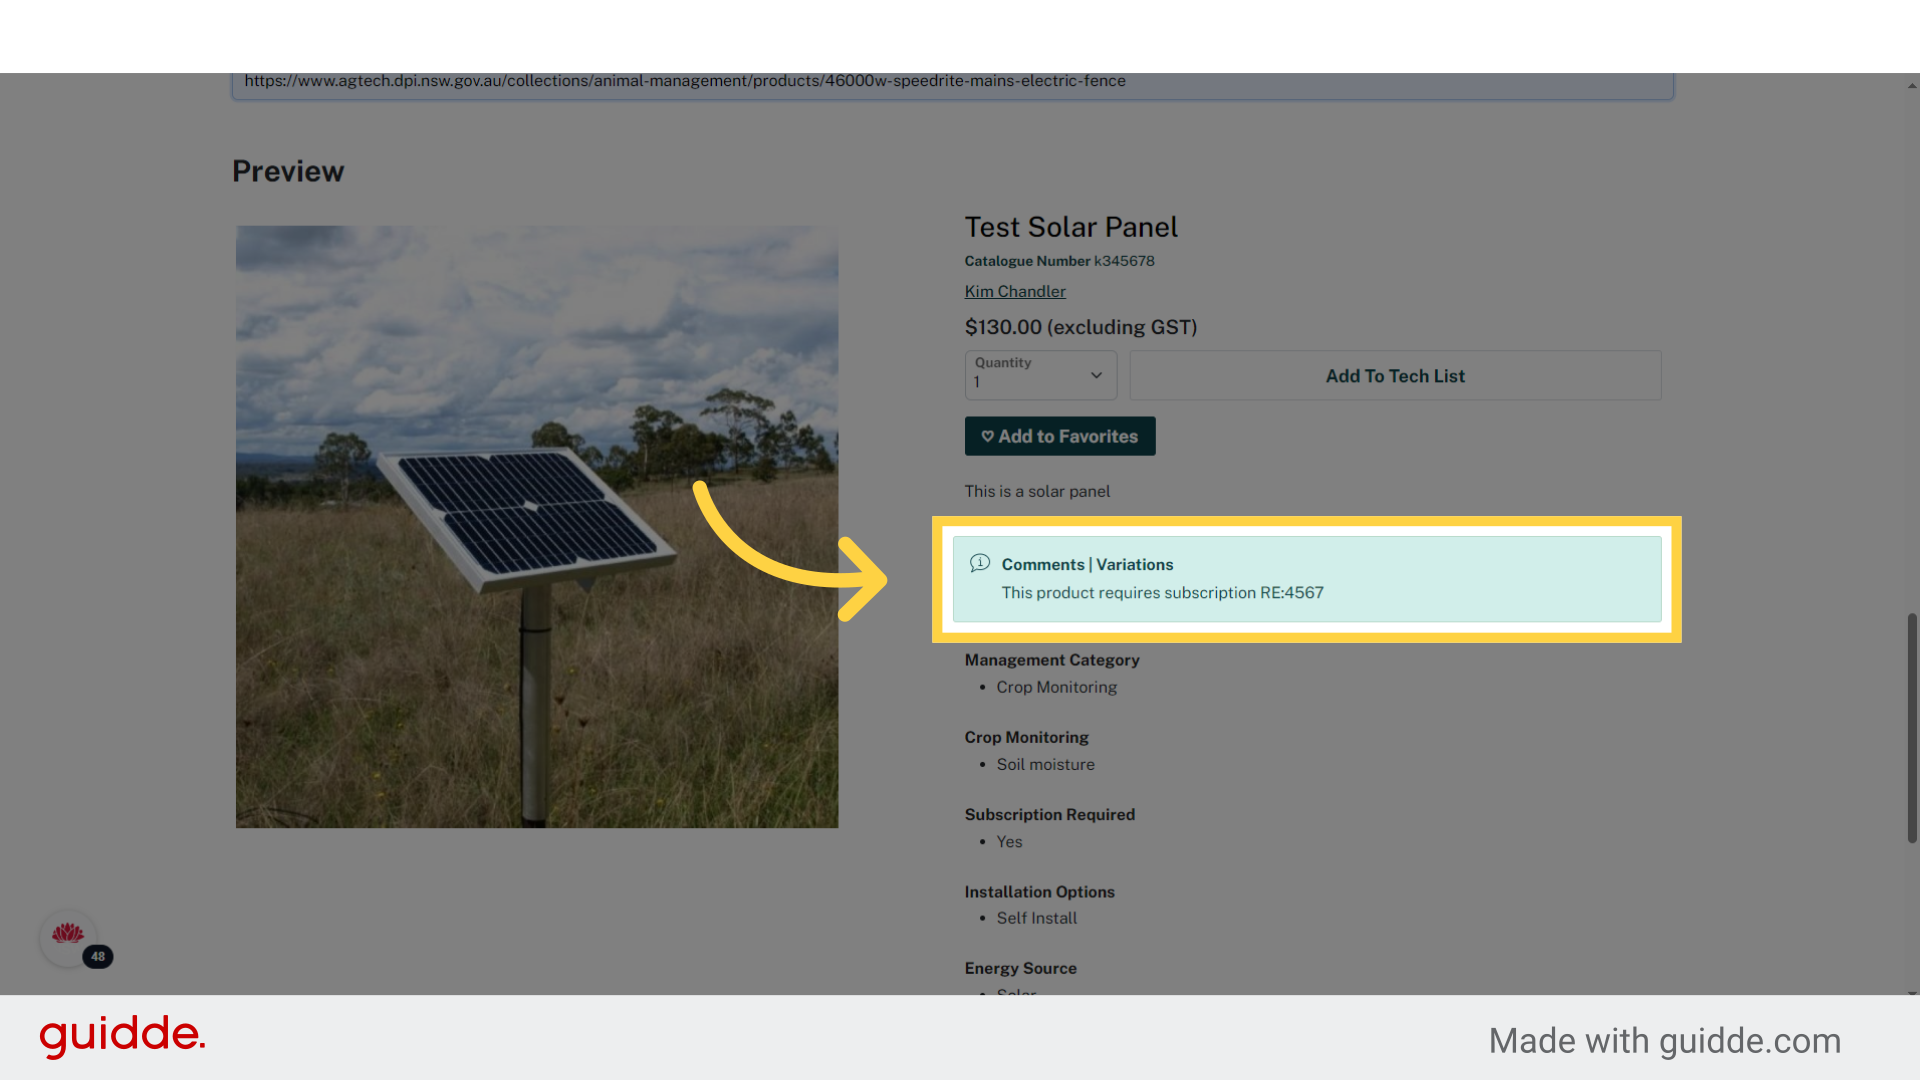
Access the comments and variations section. Write important comments in this section. 250 character limit. This important section is to be used to highlight special requirements or alerts. For example, the name of the subscription that this product needs
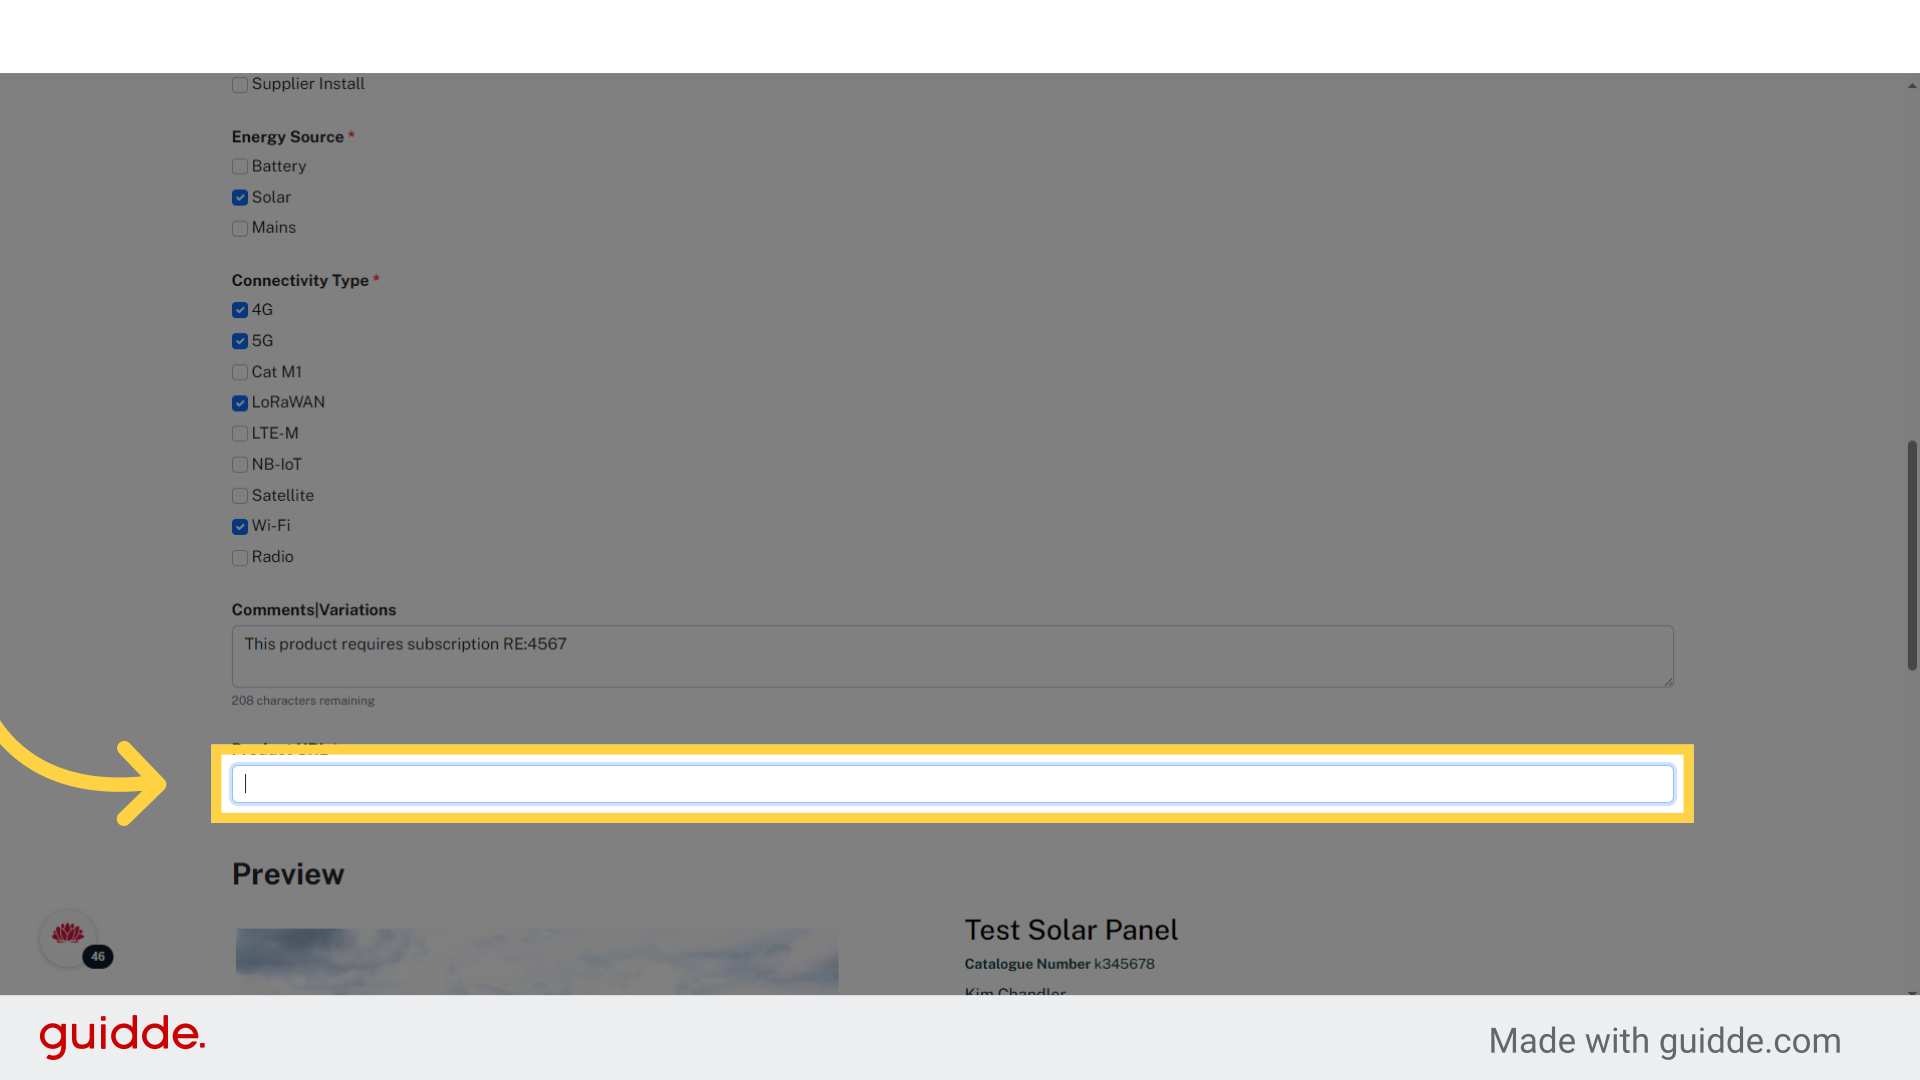
22. Click "Product URL"
Enter the product's URL. This is the UL where your product appears on your website.
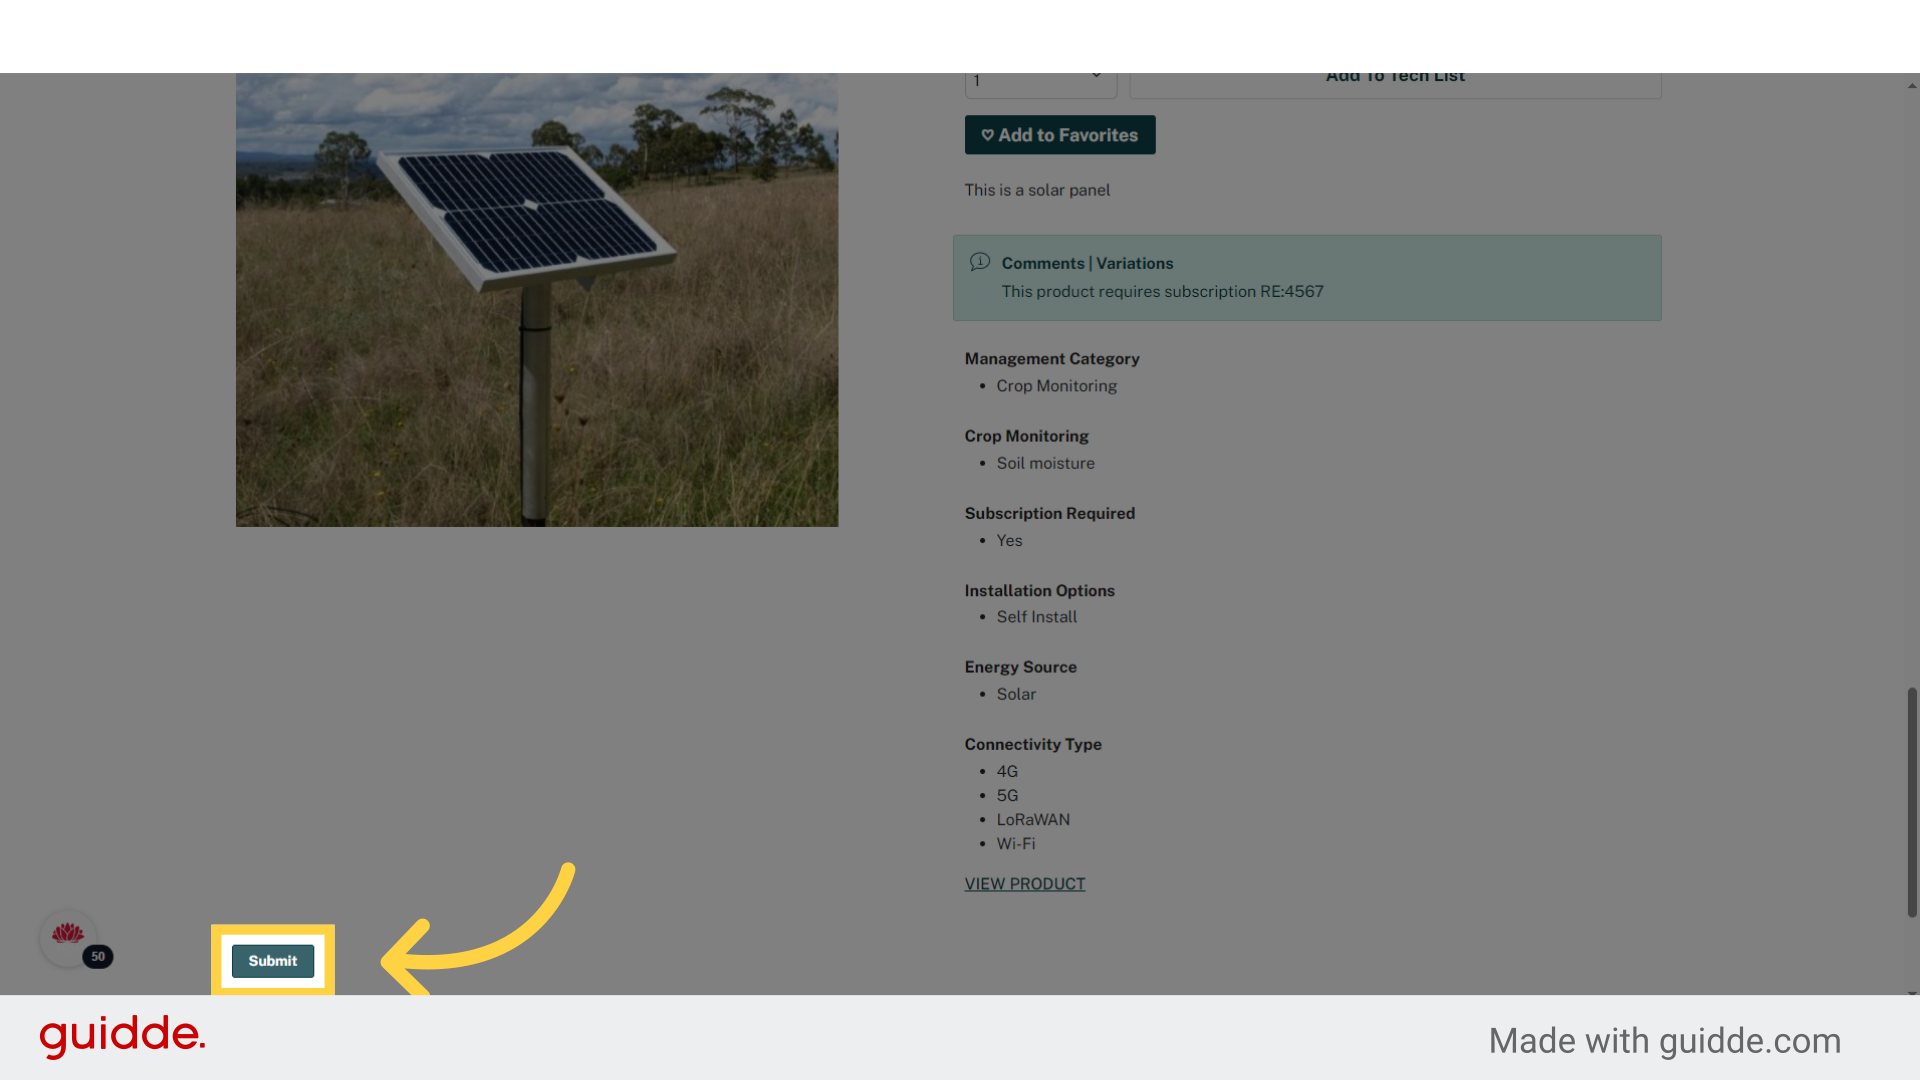
23. Review
Review how your product appears. Make any adjustments before pressing submit
24. Click "Submit"
Submit the product details.
25. Click "Pending"
Access the pending products section.
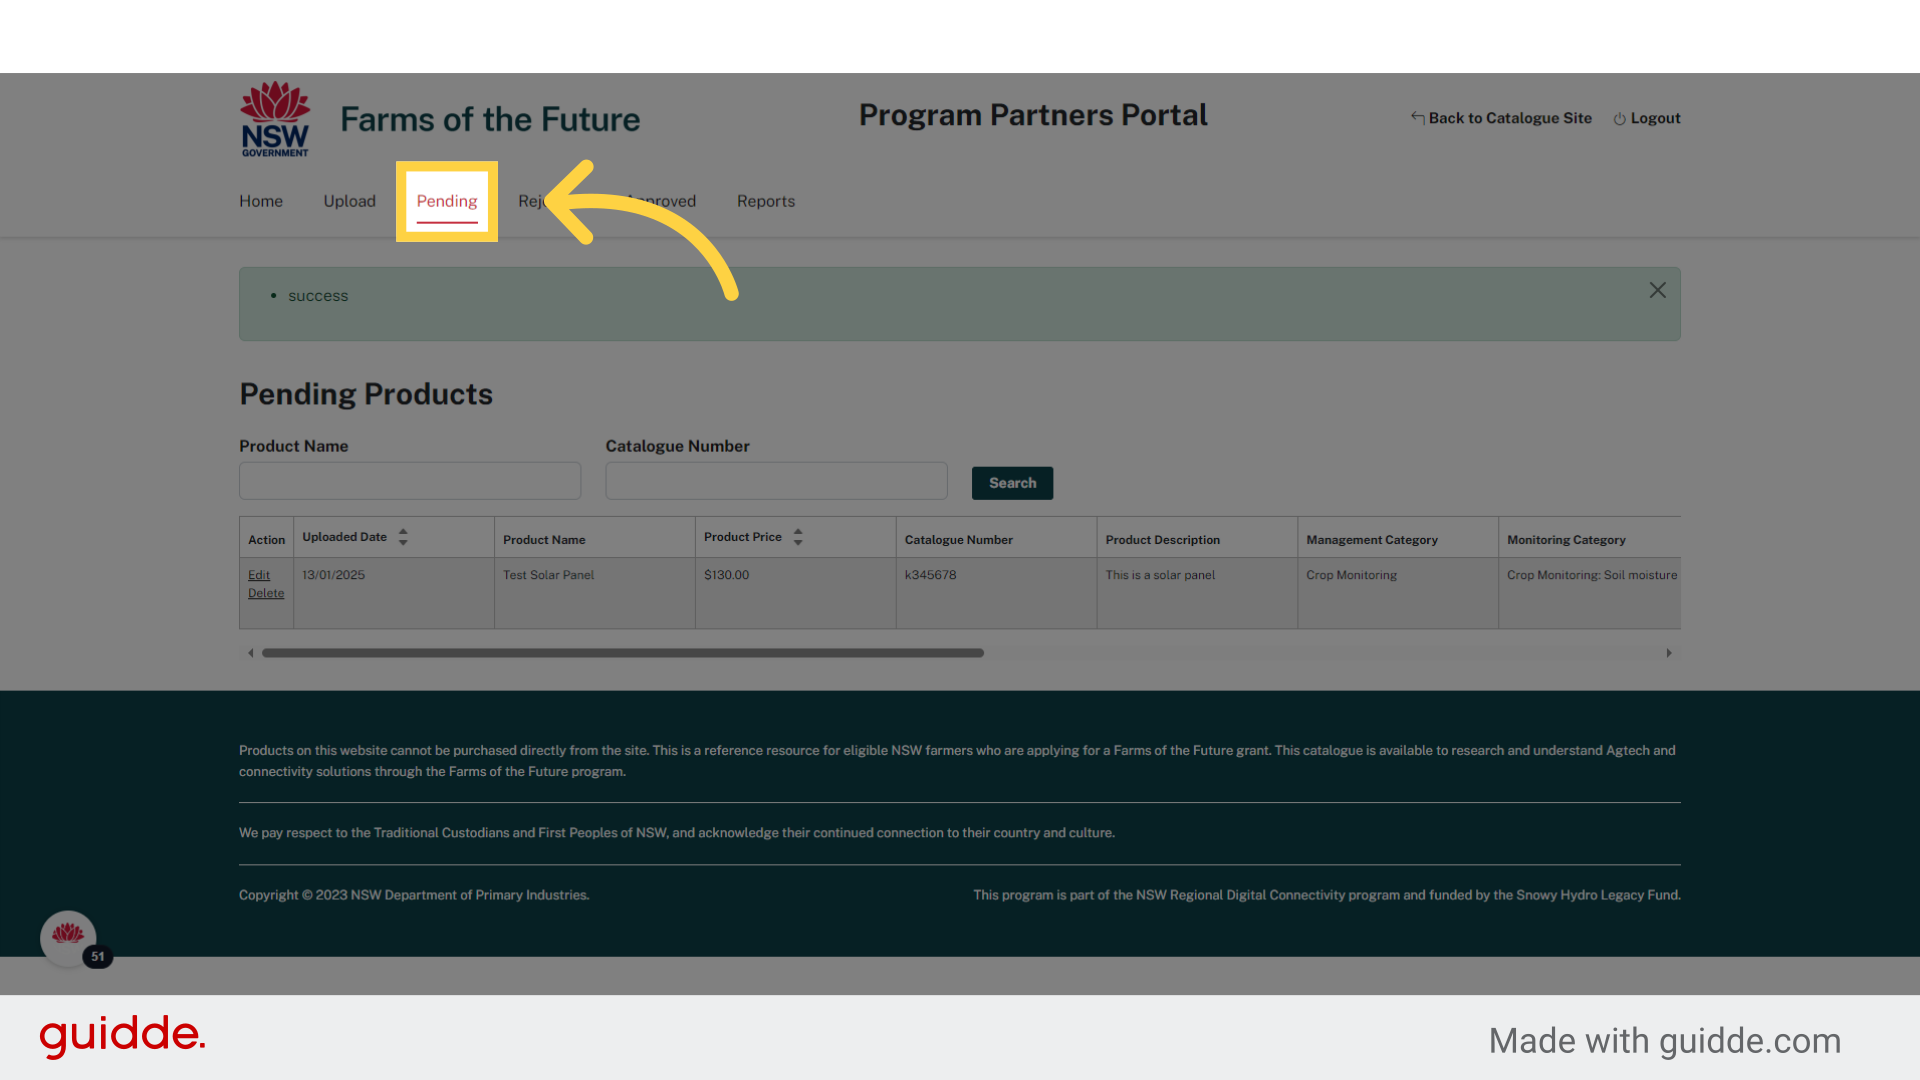
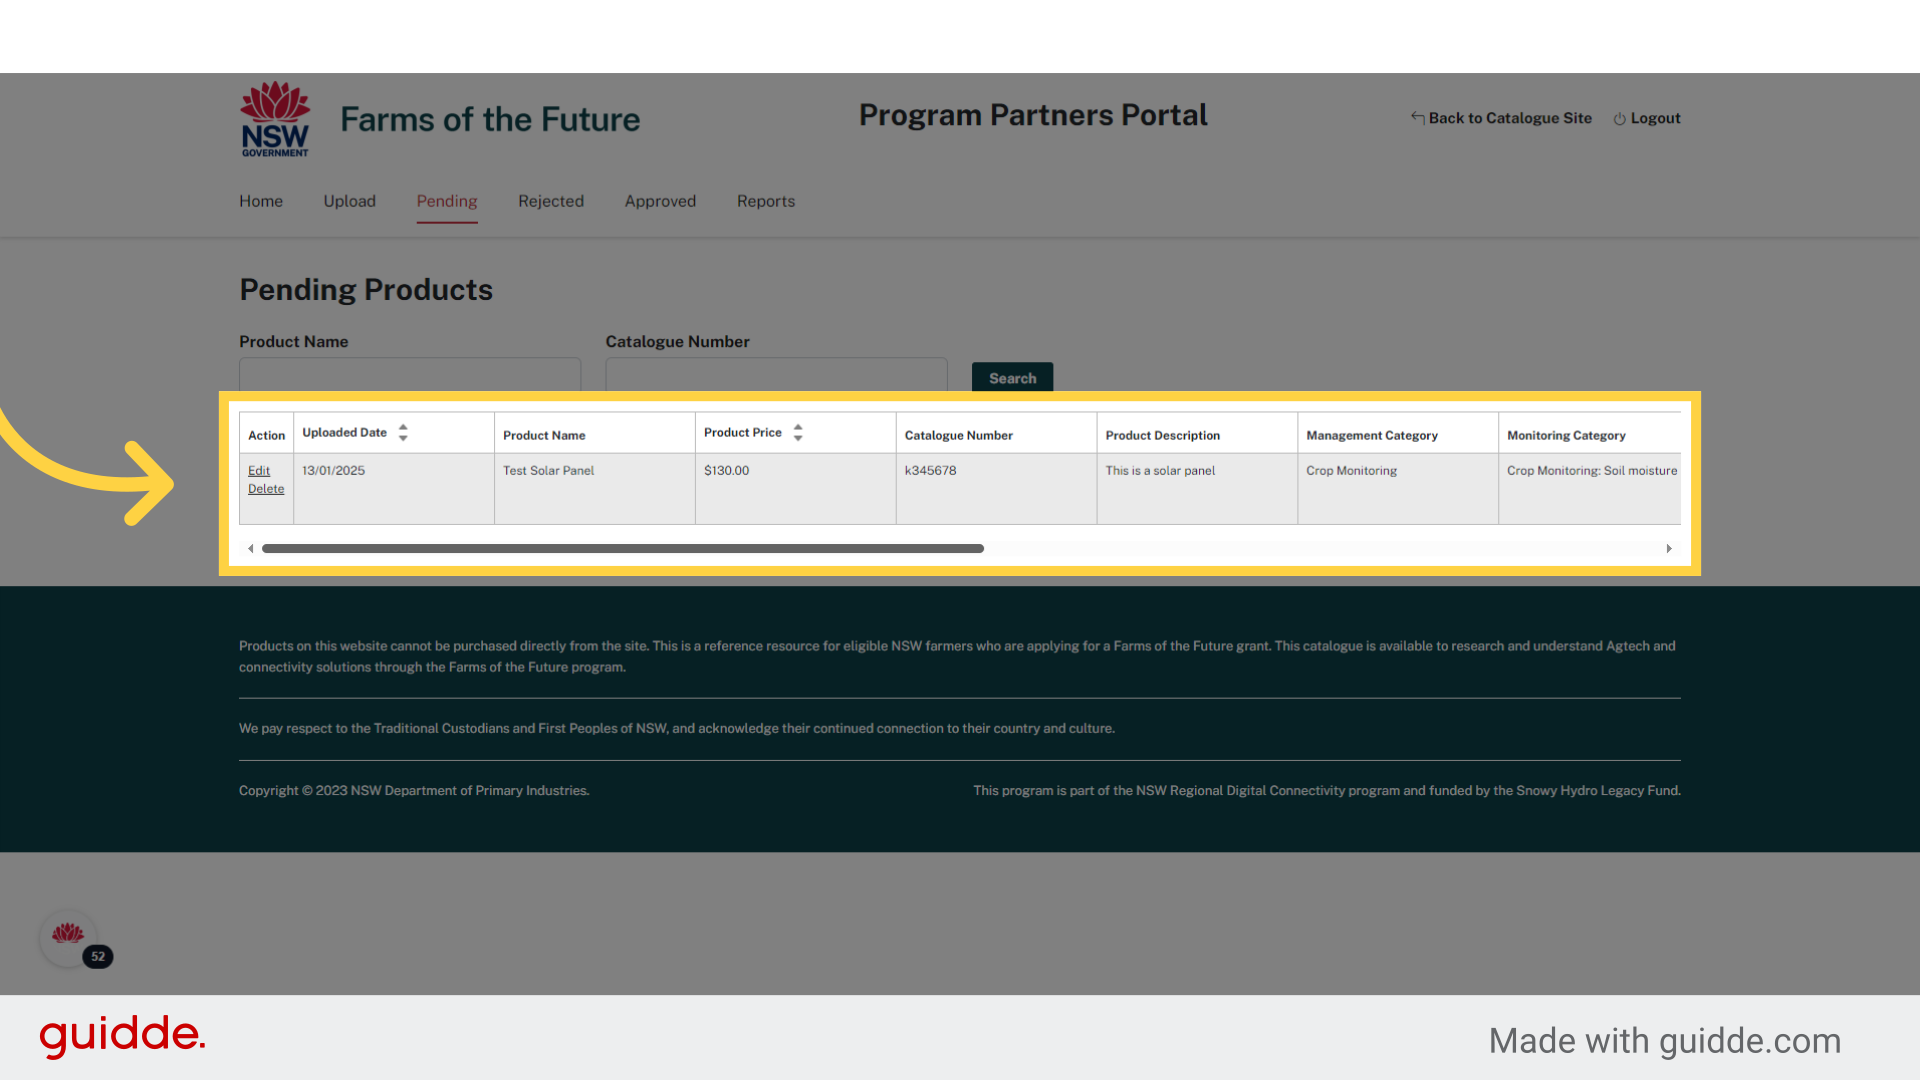
26. Review pending products
Press edit to make any adjustments to a product or delete if you do not want to proceed with this product upload. Submitted products are reviewed by the Farms of the Future team. You will receive an email once a product is approved or rejected.
In this guide, we covered the process of adding a product through the Supplier Portal. If a product has variations, such as a different length or size, add the product as one product on the portal and email the variations, including the SKU number and prices. Email agtech@dpird.nsw.gov.au